- Open the MGID Dashboard and add an advertising campaign to Dashboard. To do this, click on the “Add new campaign” button.

2. After that open the campaign settings, enter the parameter/macro in the custom UTM tracking tag and save the changes.
/Advertisers/MGID%20Postback%20and%20Peerclick%20Setup%20Algorithm/1.%20Peerclick.png?width=529&height=242&name=1.%20Peerclick.png)
3. Next, go to the conversion sensors MGID CONVERSION SENSOR.
As the need may be, you can add one or several steps, depending on at which stage you need to receive the tracking data. (Please note: this works for product offers only)
Below you can see the setup of “Action - New Order” as an example.
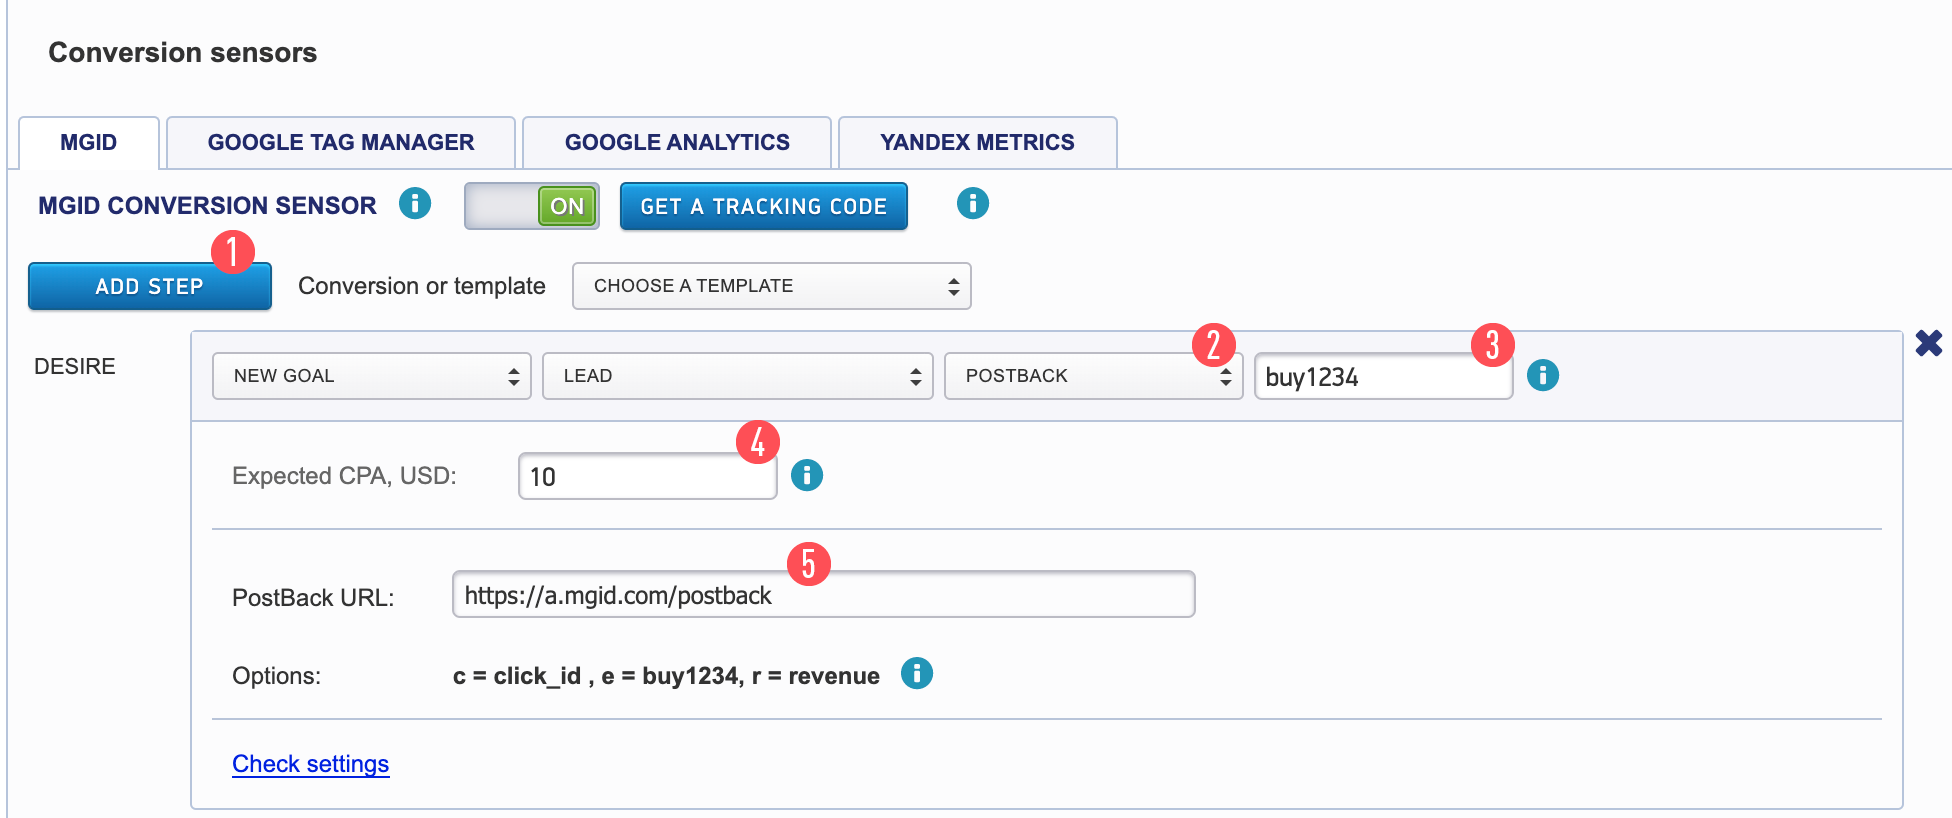
Please complete the following actions step-by-step:
- Press the “Add Step” button [1]
- Select the Postback tab [2]
- Fill in the name of the event, which will be the desired action that the user should perform on the pre-landing or landing page, e.g. click on the “Order a Product” or “Register” button. The event can be named an arbitrary name in which Latin letters and numbers are applicable. However, it is desirable to specify your ad campaign ID after the action name so that the system can identify the clicks in your advertising campaign. Your ad campaign ID can be found in the page link, in the "Campaign Settings" section [3].
/Advertisers/MGID%20Postback%20and%20Peerclick%20Setup%20Algorithm/2.%20Peerclick.png?width=624&height=76&name=2.%20Peerclick.png)
5. Review what the link looks like. [5]
Here’s an example of what the link should look like:
https://a.mgid.com/postback?c={external_id}&e=buy123456&r={payout}
(For your link, fill in your values. Optionally, fill in your action, e.g. buy, registration, etc., and replace 123456 with your campaign ID.
"c =" is the click id parameter that should return to our system in the sub form.
"e =" is the event name with a unique campaign number.
"r =" is the amount of revenue or the extent of the payment.
Copy the Postback receival link on MGID’s side and save the settings.
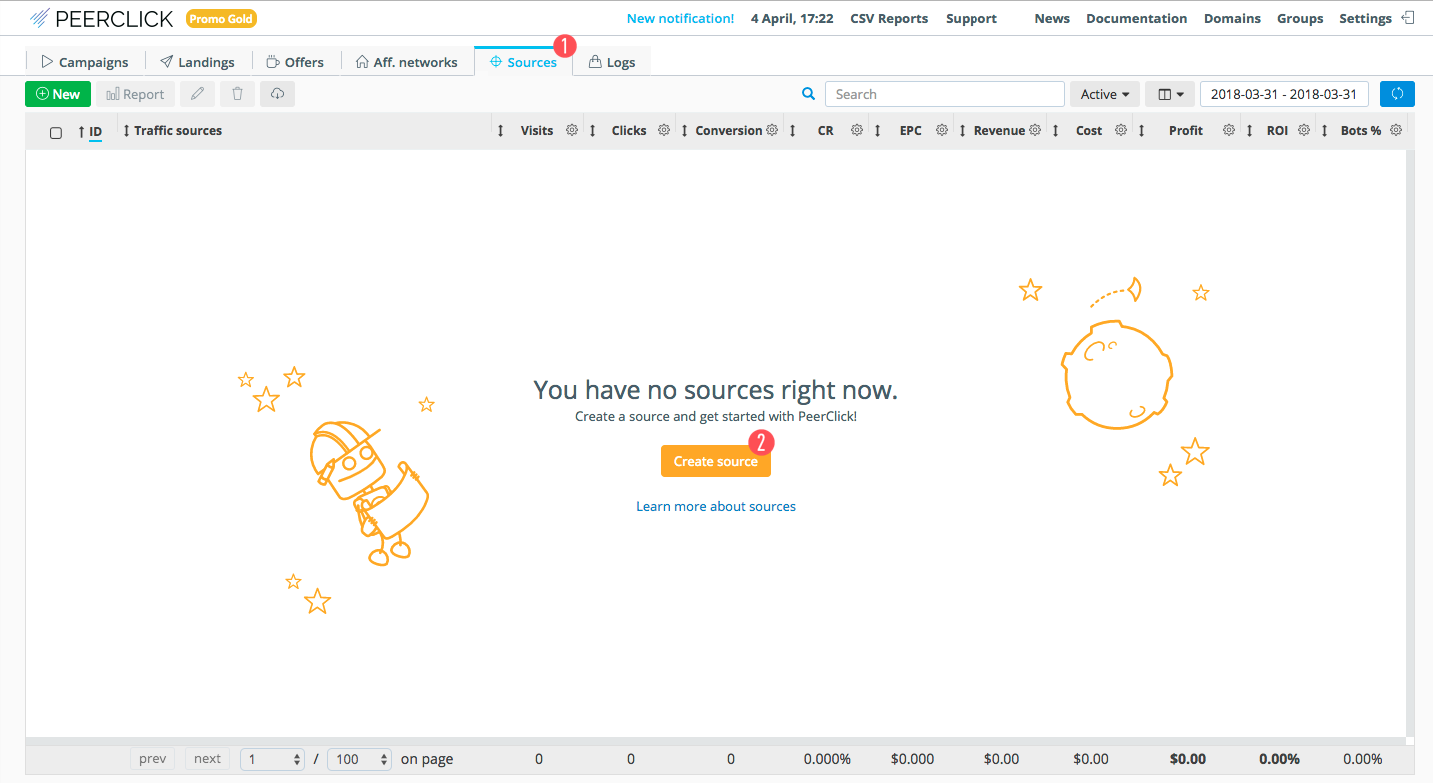
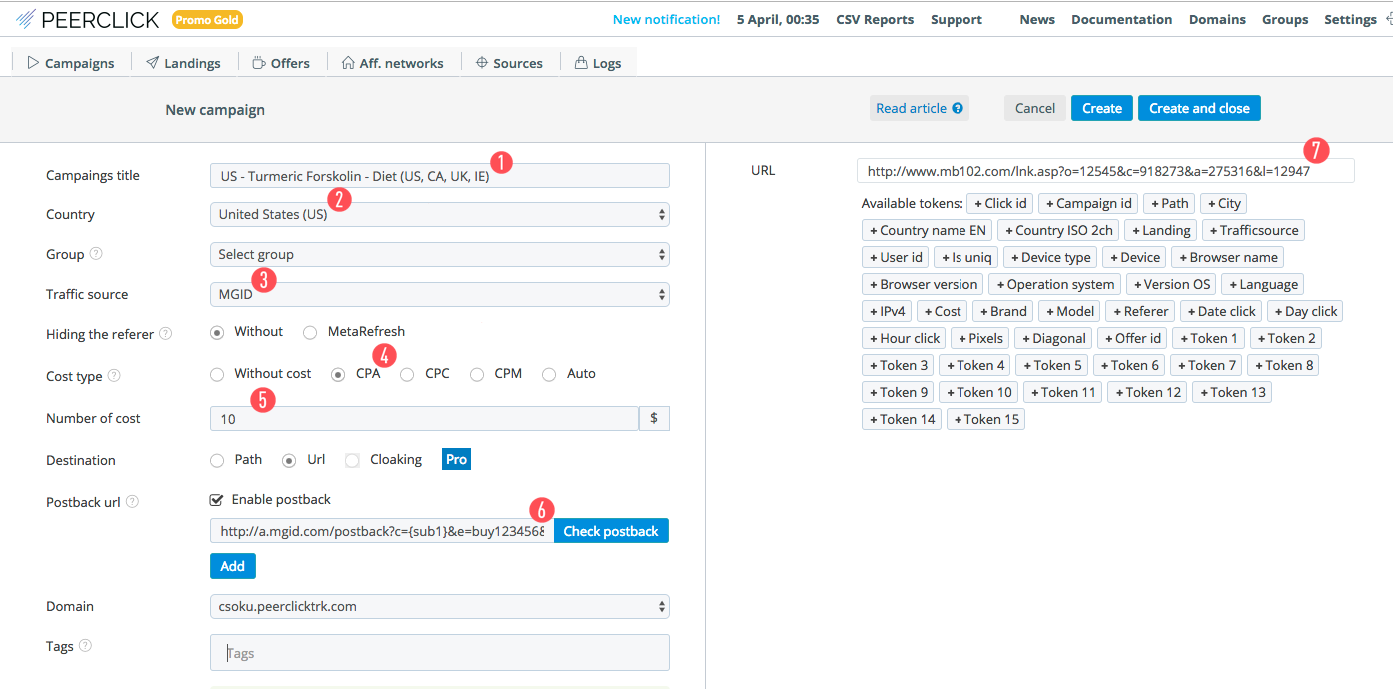
4. After that open the Peerclick tracker site.
/Advertisers/MGID%20Postback%20and%20Peerclick%20Setup%20Algorithm/3.%20Peerclick.png?width=343&height=524&name=3.%20Peerclick.png)
5. As soon as you open your Dashboard, go to Source - create source.
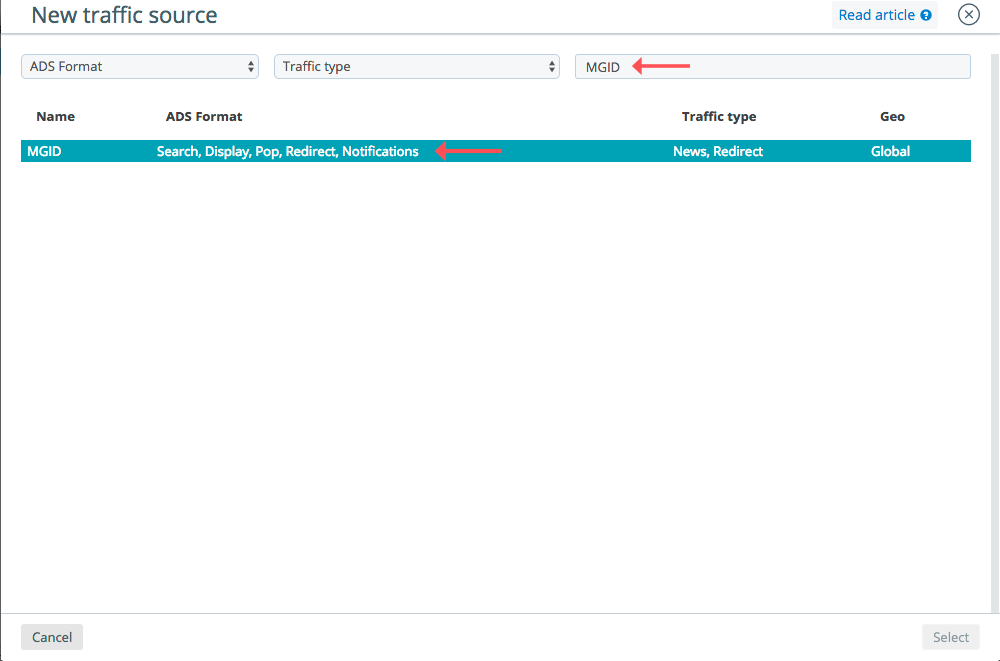
6. Click on “Load from templates” - “MGID”.
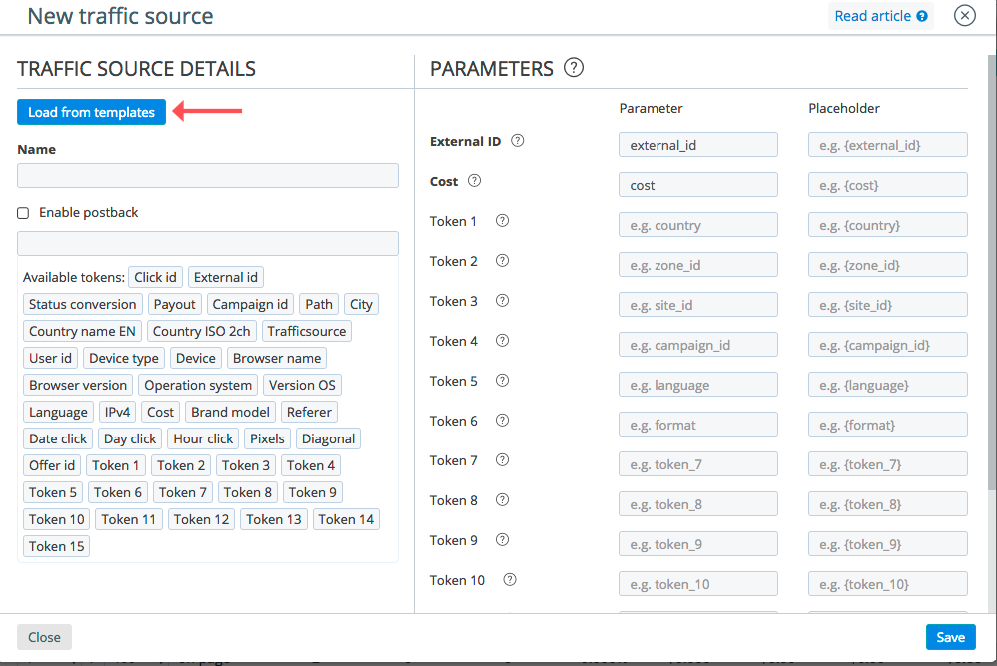
Now fill out your Postback link. You can use the Postback link from your campaign in MGID
https://a.mgid.com/postback?c={external_id}&e=buy123456&r={payout}
c = {external_id} is MGID’s click_id
e = buy123456 is your event
r = {payout} is the payout parameter
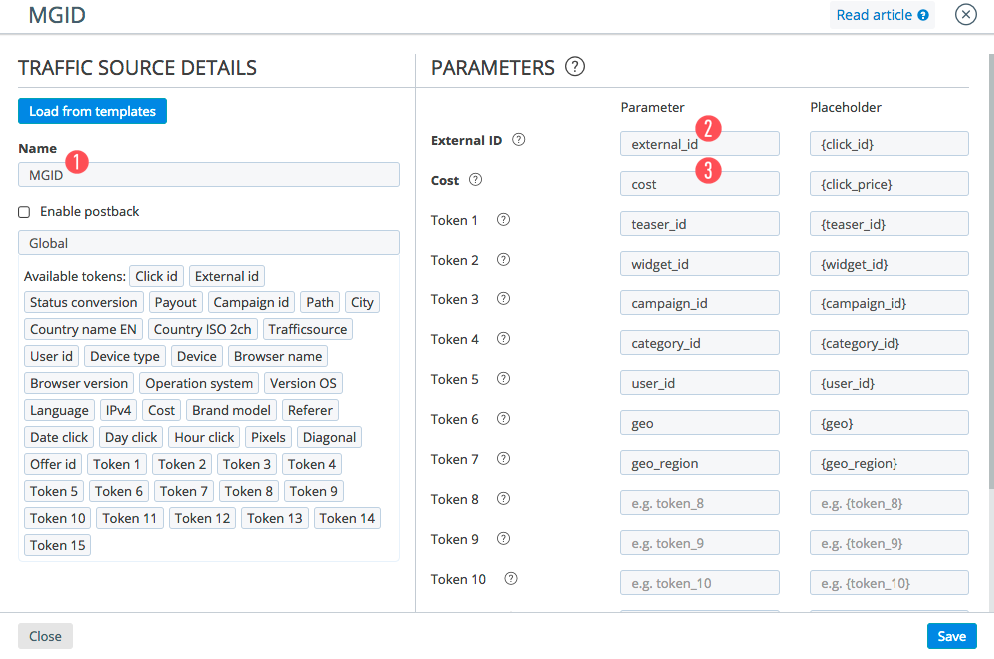
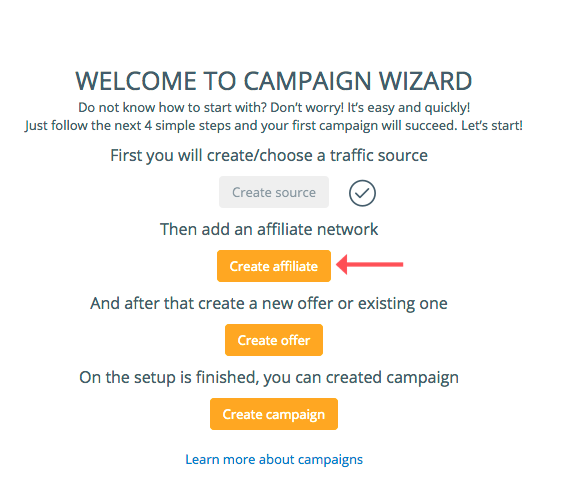
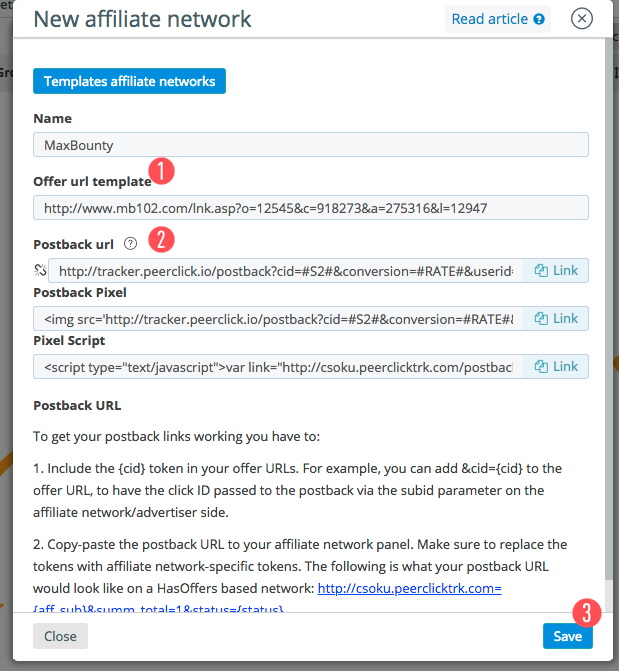
Please pay attention to the additional settings, namely, External ID. Insert the parameter from UTM custom tracking tag from Step 1 of this guide. Leave the Placeholder field as is: {click_id}. 7. Create an affiliate network.
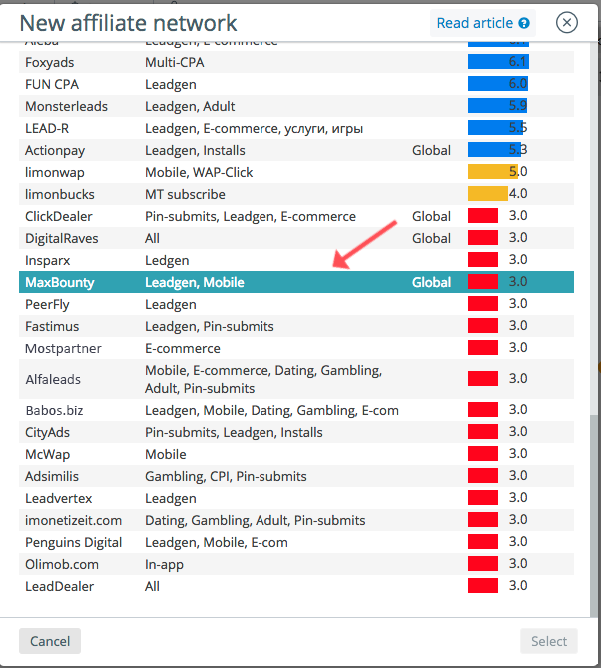
In this section, you can choose your affiliate network from templates, e.g. Maxbounty.
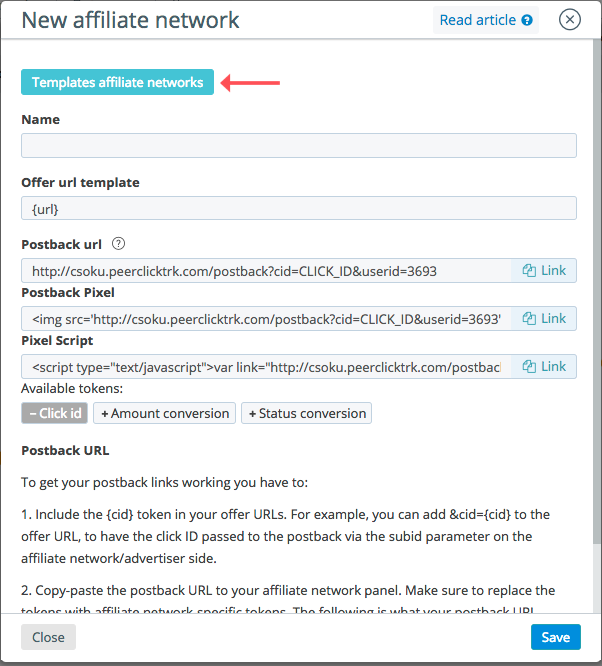
Insert the link to the offer and save the settings.
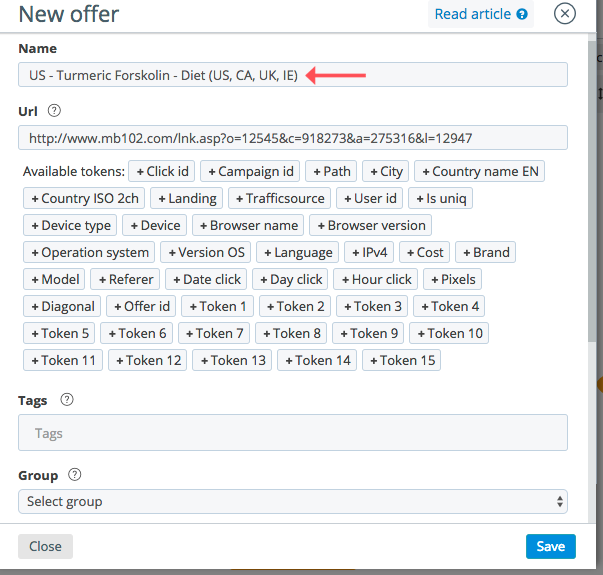
8. After saving, it’s time to add your offer. Click on “Create a new offer”.
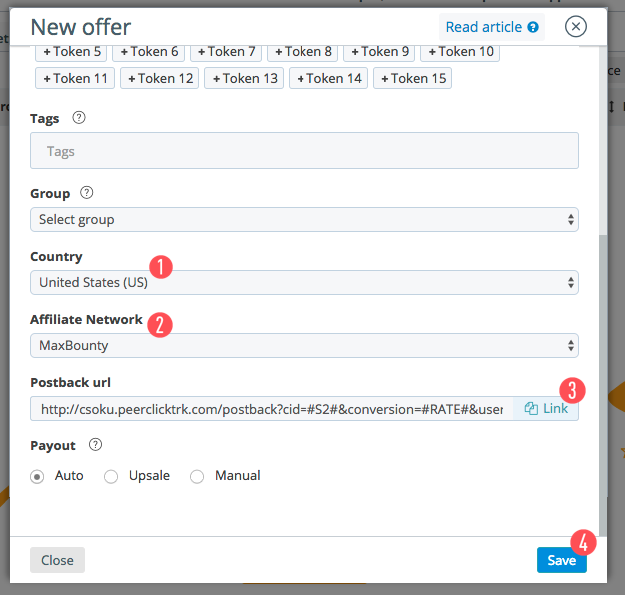
Fill in the name of the offer, URL, your affiliate network and GEO only.
The link to the offer can be found in the Maxbounty dashboard.
Fill in the “Creatives” tab.

Select the traffic type from the list. To select MGID, click “Search” and enter MGID;
When you click “Get tracking code”, you will receive a link for your teasers.

Select the landing page you would like to link to.
Copy the teaser link.
After saving all the settings in Peerclick copy the Postback link.
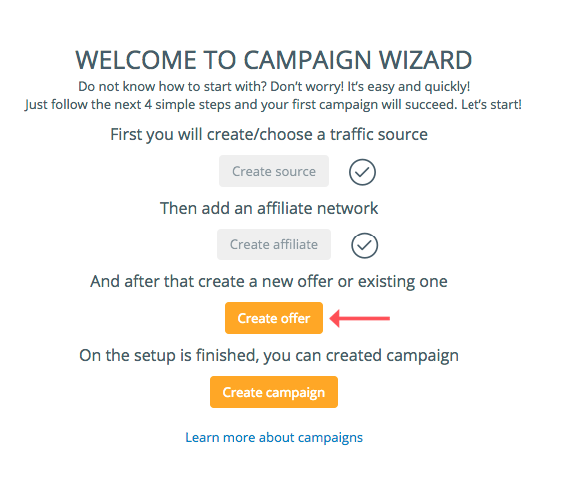
9. Create a campaign.
Fill in the following settings.
After editing, Peerclick will automatically save any changes made. However, please manually save the changes as well.
Checking the Postback settings
After you have completed the setup on Peerclick’s end, return to the MGID Dashboard to check the settings. You won’t be charged for test clicks, and the test clicks will not be included in your statistics.
You can check the settings by following these steps:
- Click on the “Ads” icon with a notepad image in the MGID Dashboard.
2. Click on the link below the teaser.
3. After clicking on the link you should perform your target action: order, subscribe, register, etc.
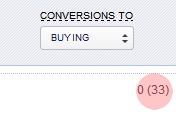
4. After 15 minutes you can review the test. The test conversion is displayed in the “Conversion” column, and it will be displayed in the total statistics of the account and indicated in brackets.
Note: you also can go to the “Statistics” section and select the desired additional parameter with an indicated date.