The instruction below covers tracker integration. If you want to check the partner’s documentation, please follow this link here.
The MGID Postback and Adsbridge Setup Algorithm
Log into the MGID Dashboard and add an ad campaign in Dashboard.
There, click on the “Add Campaign” button.

- After that, please open the campaign settings and the custom UTM tracking tag, enter the parameter/macro, and save the changes.
/Advertisers/Adsbridge/Adsbridge_1.png?width=624&height=192&name=Adsbridge_1.png)
Important: the click_id you enter in the MGID Dashboard should be the same as the values registered in the Adsbridge system in which the final Postback link (Tracking ID) is entered.
2. Then go to the “Conversion sensors” section.
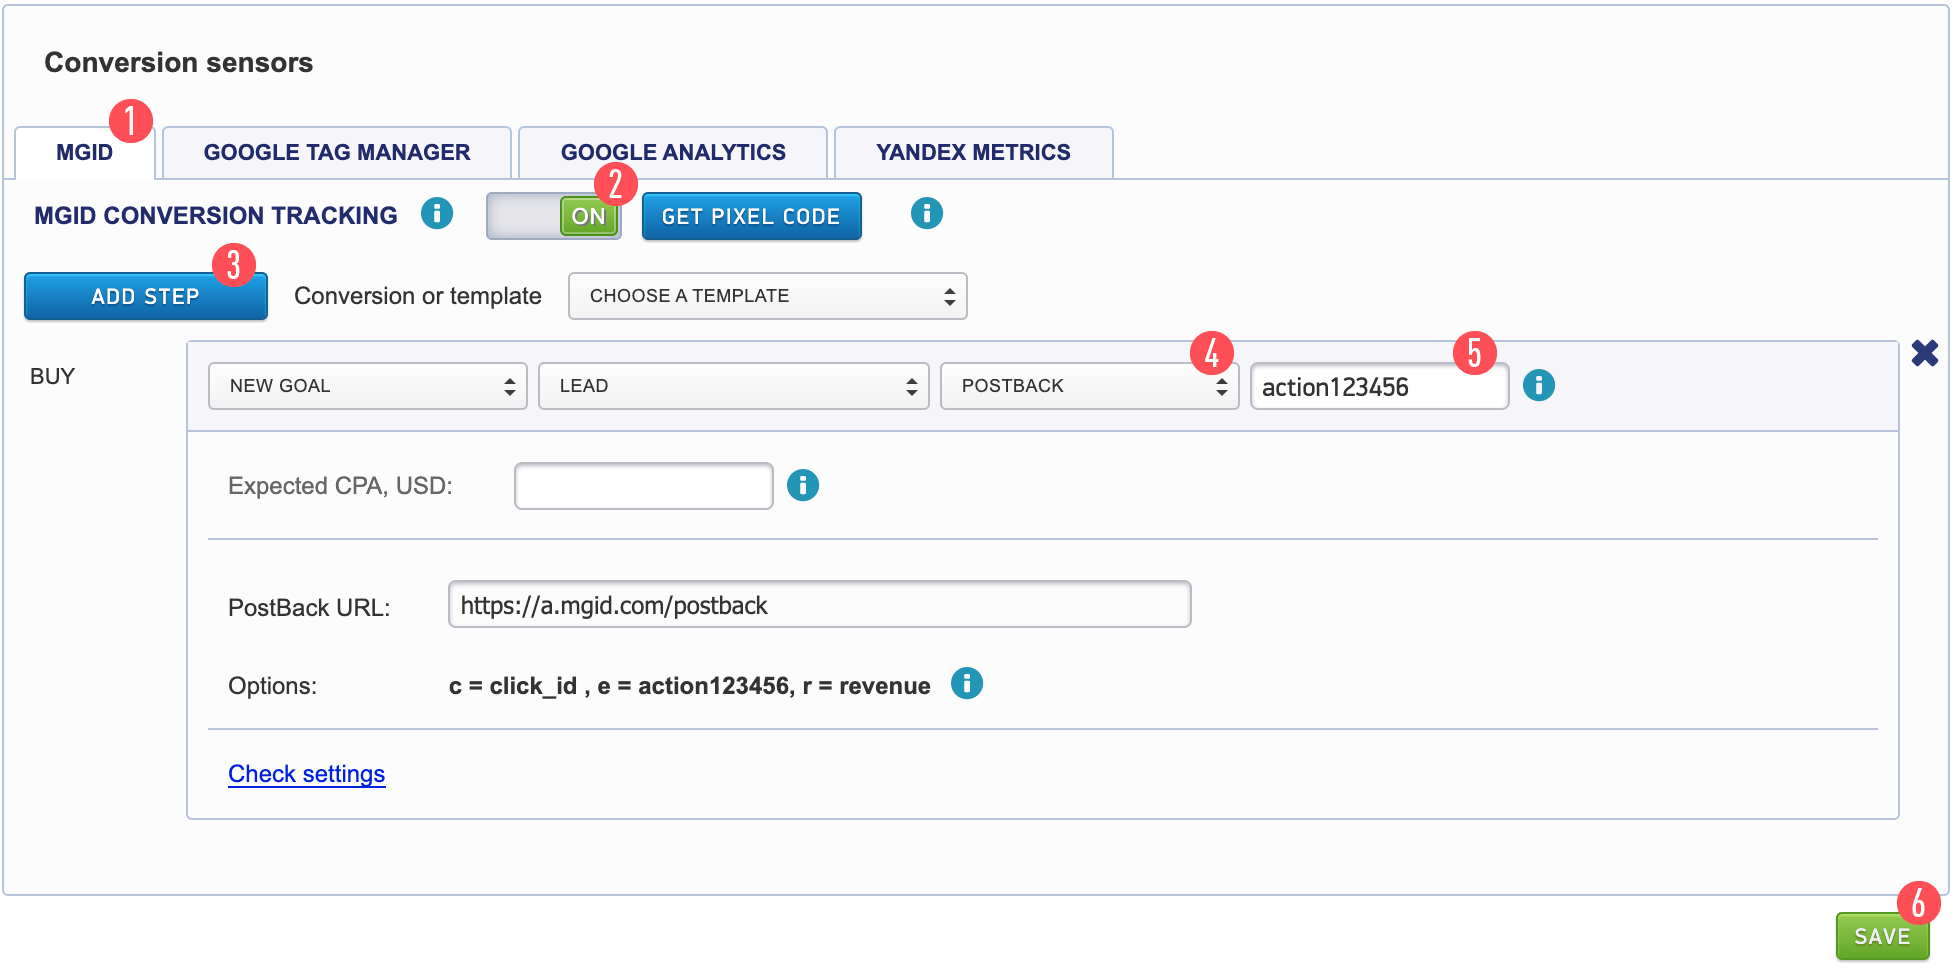
As the need may be, you can add one or several steps, depending on at which stage you need to receive the tracking data. (Please note: this option works for product offers only)
Below you can see the setup of the “Action - Buy” step as an example.

Please complete the following actions step-by-step:
- Press the “Add Step” button [1]
- Select the Postback tab [2]
- Fill in the name of the event (the desired action that the user should perform on the pre-landing or landing page), e.g. click on the “Order a Product” or “Register” button.
It is desirable to specify your ad campaign ID after the action name so that the system can identify the clicks in your advertising campaign.
Your campaign ID can be found at the top of the page in the link,in the "Campaign Settings" section [3].

4. Fill in the conversion cost. (Note: This field is optional) [4].
5. Review what the link looks like. [5]
Here’s an example of what the link should look like:
https://a.mgid.com/postback?c=<tracking_id>&e=<status>123456&r=<payout>
* 123456 is a unique parameter for our system (e.g. campaign ID). This parameter will be transferred to our system along with the status of the event.
"c =" is the click id parameter that should return to our system in the sub form.
It is important to add c={tracking_id} because we will enter this parameter in the Adsbridge tracking system later on.
"e =" is the event name with a unique campaign number.
"r =" is the amount of revenue or the extent of the payment.
Copy the Postback receival link on MGID’s side and save the settings.
After that, log in to your Adsbridge.com account.
/Advertisers/Adsbridge/Adsbridge_2.png?width=261&height=397&name=Adsbridge_2.png)
As soon as you open your Dashboard, go to the traffic sources.
/Advertisers/Adsbridge/Adsbridge_3.png?width=454&height=342&name=Adsbridge_3.png)
Choose the MGID template ("Choose from templates", then “MGID”). Then you have to set the name of the traffic source and the event name in the "Postback URL" field. The event name should coincide with the event name you have set in your campaign settings.
Go to the "Affiliate networks" section and click on "Create affiliate network"
/Advertisers/Adsbridge/Adsbridge_4.png?width=624&height=315&name=Adsbridge_4.png)
https://a.mgid.com/postback?c=<tracking_id>&e=<status>123456&r=<payout>
* 123456 is a unique parameter for our system (e.g. campaign ID). This parameter will be transferred to our system along with the status of the event.
Choose the name of the affiliate network and save the settings.
- Go to the "Offers" section and click on “Create offer”.
Now, you should fill out the following form.
These fields are crucial for Postback:
URL: is the link to your site/offer/landing
Affiliate network: is the network you created in the previous step
Tracking token: is tid
/Advertisers/Adsbridge/Adsbridge_5.jpeg?width=624&height=377&name=Adsbridge_5.jpeg)
7. Go to "Campaigns" -> "Create campaign."
/Advertisers/Adsbridge/Adsbridge_6.jpeg?width=624&height=240&name=Adsbridge_6.jpeg)
Fill in the campaign name.
Choose the traffic source created (instructions in the previous paragraphs).
Then click on "Save" and "Next"
8. Set up the campaign and connect the offer
/Advertisers/Adsbridge/Adsbridge_7.jpeg?width=624&height=243&name=Adsbridge_7.jpeg)
Click on "Add offer" -> "Select offer", and then choose the offer added before.
Checking the Postback Settings
After finishing the setup on the Adsbridge side, go to MGID Dashboard to check our settings.
You will not be charged for the test clicks. They will not be included in statistics as well.
To test the settings do the following steps:
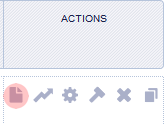
Click on the “Ads” icon with a notepad image in the MGID Dashboard.

Click on the link under the teaser.

- After following the link you should perform the targeted action: order, subscribe, register, etc.
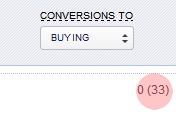
- Please review the test in 15 minutes. The test conversion will be displayed in the "Conversion" column. The test conversion will be displayed in the summary statistics of the account and will be indicated in brackets.

You can go to the "Dashboard" section and select the required additional parameter with an indicated date in the Adsbridge system.
/Advertisers/Adsbridge/Adsbridge_8.png?width=624&height=241&name=Adsbridge_8.png)