Tip: The instruction below covers affiliate network integration. If you want to check the partner’s documentation, please follow this link here.
- Add an ad campaign in Dashboard.

2. Select stages 1 to 3 of conversion (Interest, Desire, Action) below, in the “Conversion sensors” section. You can either create a new stage or choose an existing one.
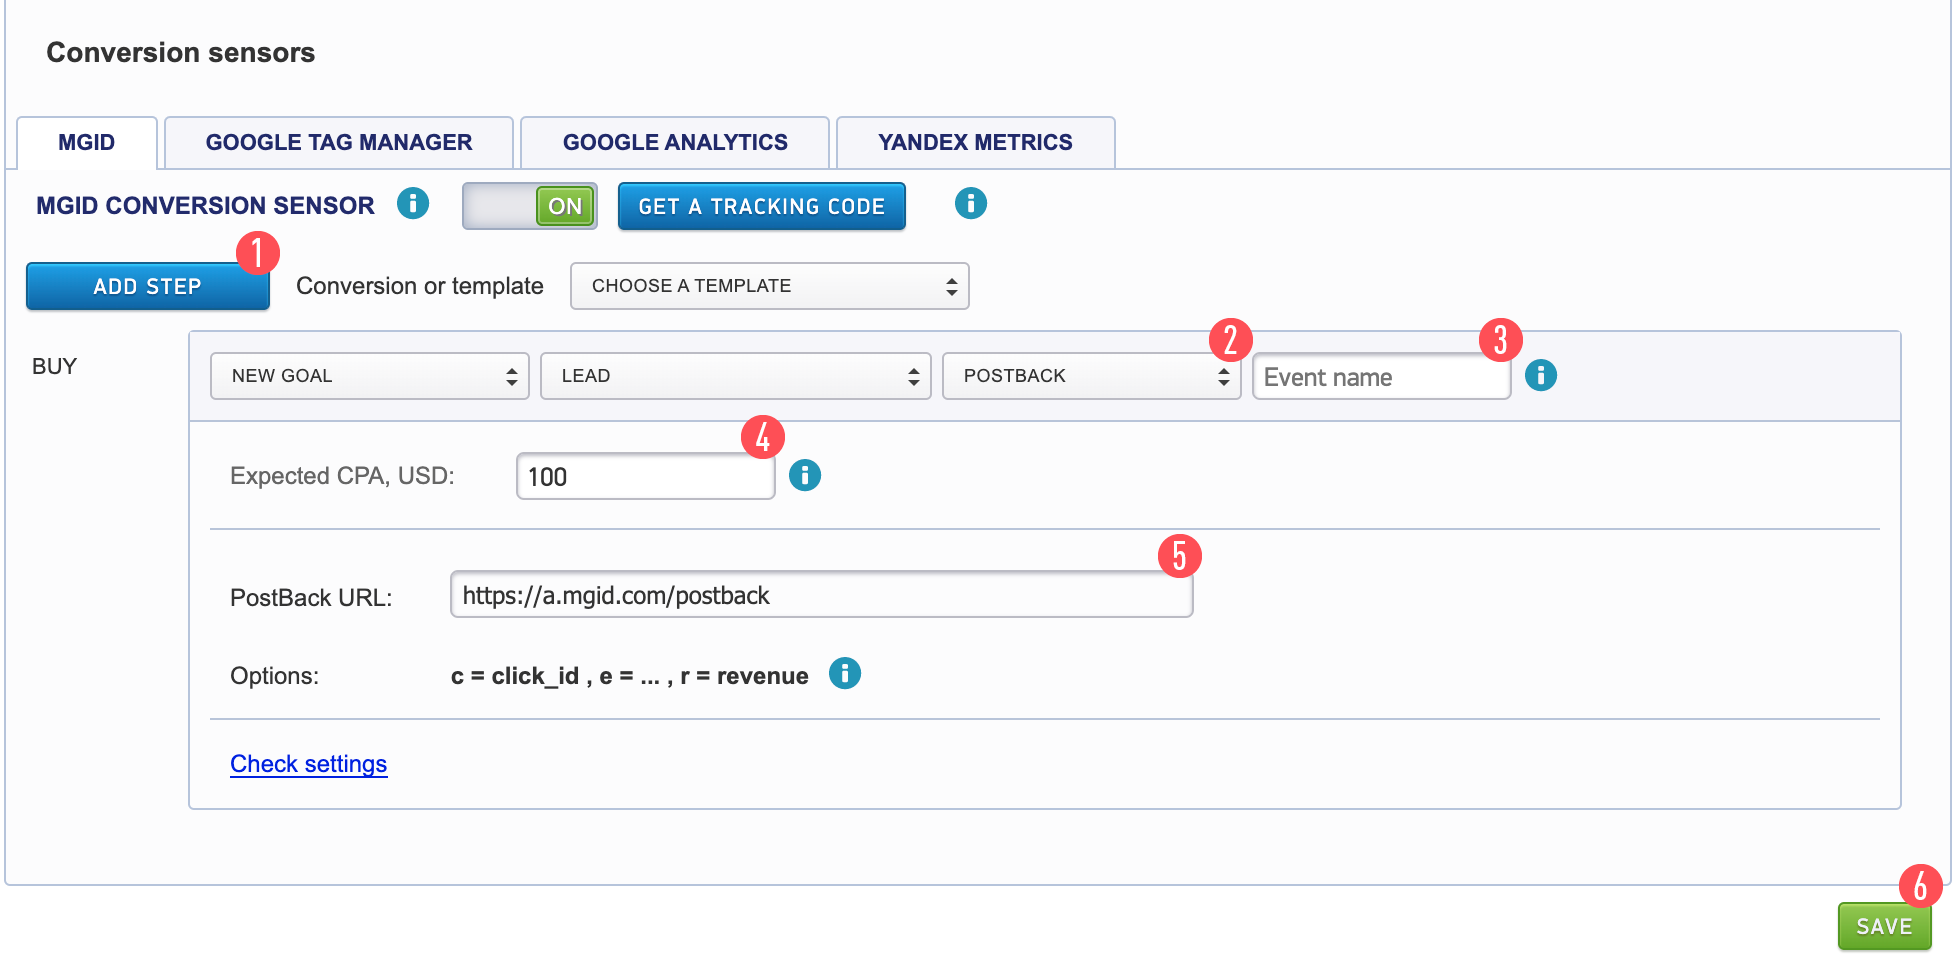
Add a stage (goal) by clicking on the “Add Step” button [1].
Select the “Postback” tab [2].
After selecting the “Postback” tab, you'll be prompted to use the custom UTM Tracking Tag. Please ignore this prompt, you aren’t required to add any information there.
Fill in the name of the event [3] (e.g. buy123456 is the example, the required value is taken from AdCombo.com) here
event is the name of the triggered event (hold, confirmed, reject)
Optionally, indicate the conversion cost [4]
Copy the link to the receival of Postback on MGID’s side [5].
Save the settings [6].
Postback URL is obtained:
Postback setup
https://a.mgid.com/postback?c={subacc}&e=action123456
* 123456 is a unique parameter for our system (e.g. campaign ID). This parameter is transferred to our system along with the status of the event.
3. Log into the client's Dashboard
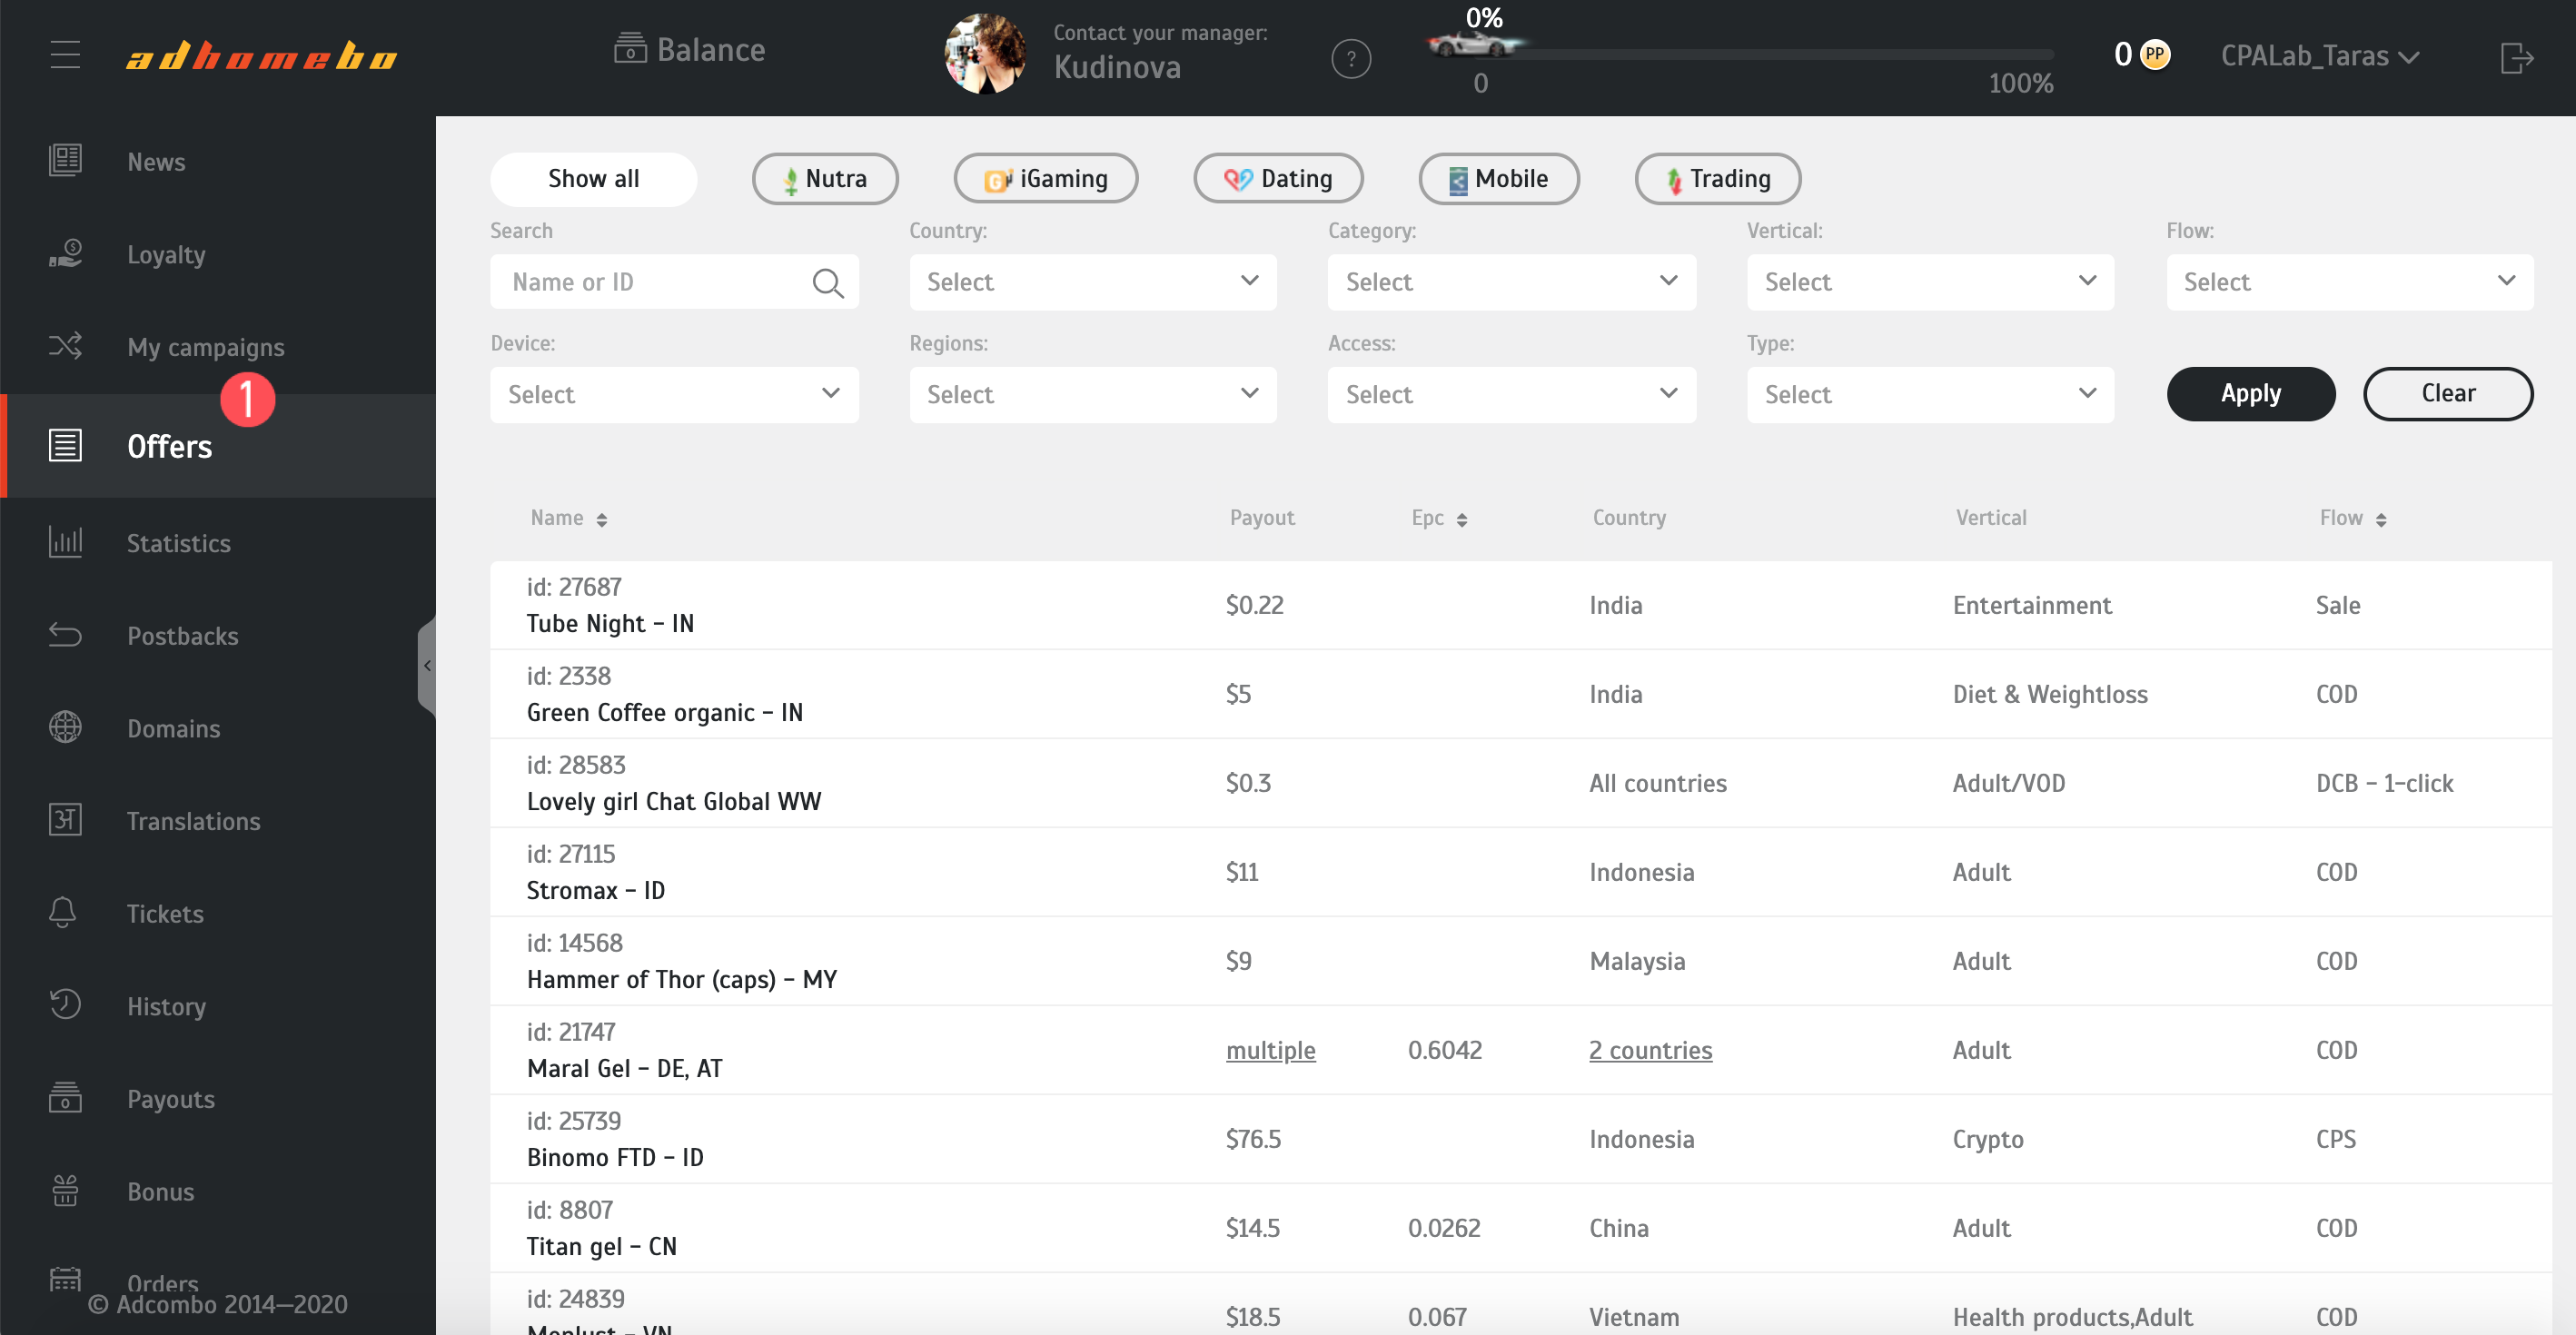
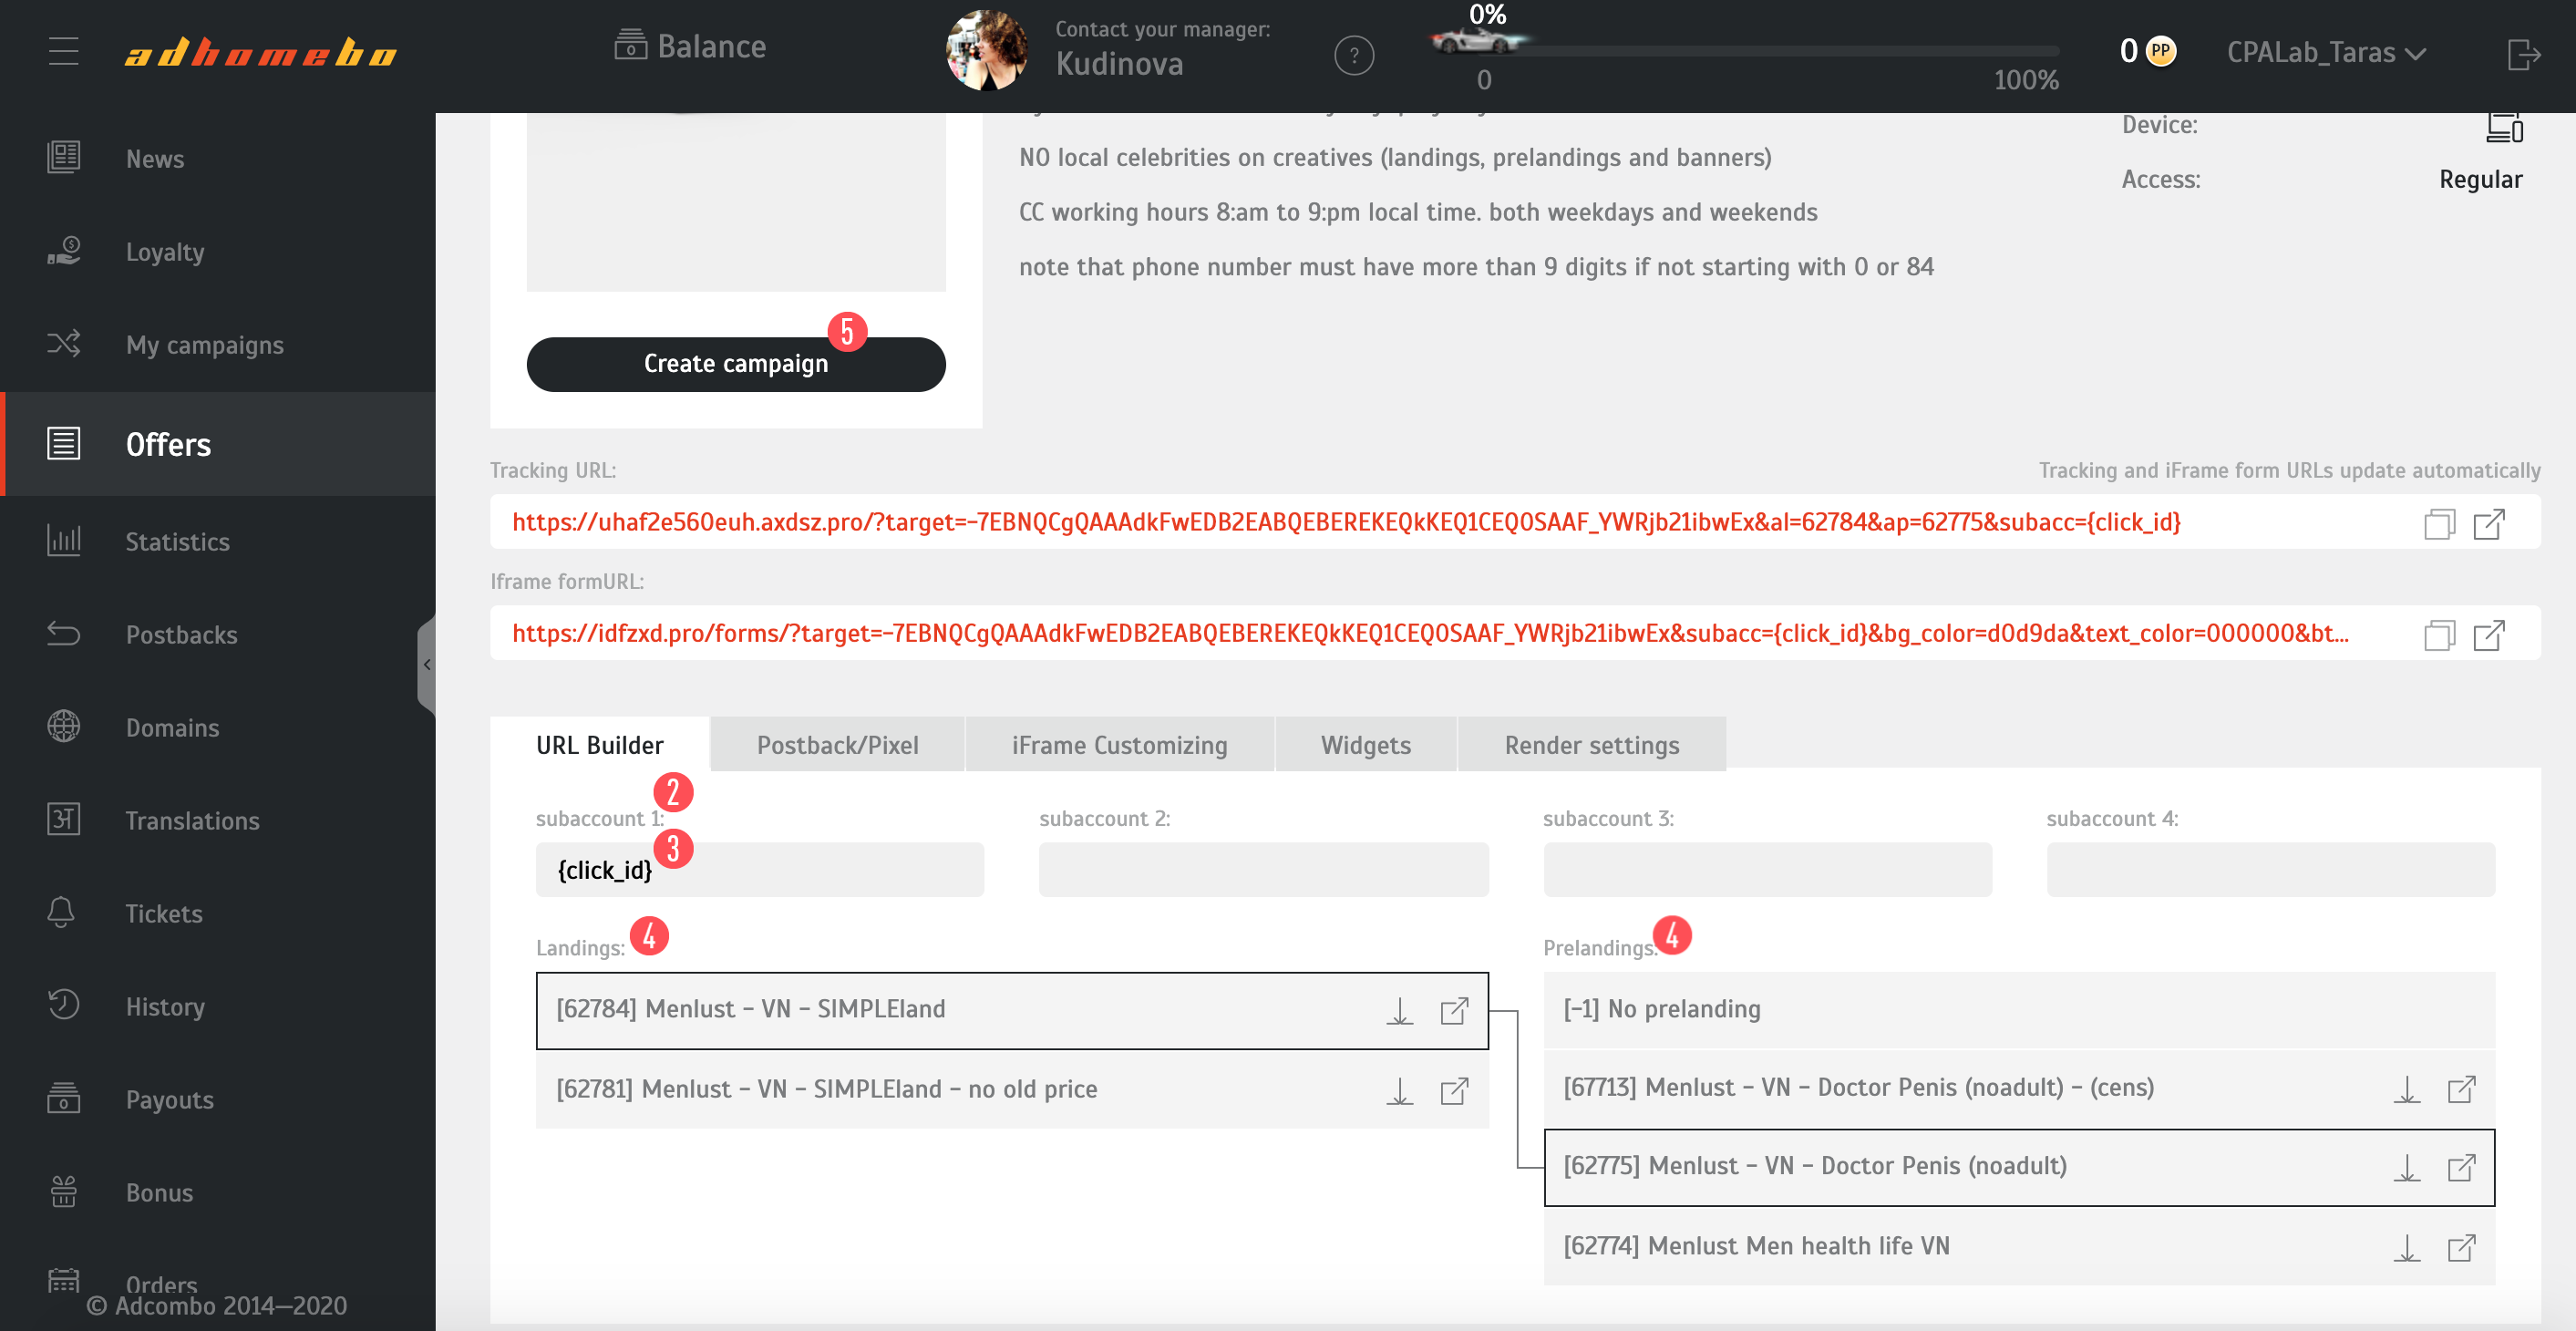
4. Go to the "Offers" tab [1] and select the required Offer from the list.
5. After proceeding to the “URL Builder” tab you’ll see the form with the fields Subaccount 1,2,3,4, etc. [2].
These parameters will be transferred after clicking on the teasers later on. The only parameter required for Postback is {click_id} [3].
Fill the parameters out in the Subaccount 1 field.
Choose the landings/prelandings [4], which will be displayed after clicking on your teaser link.
Create a campaign [5].
IMPORTANT:
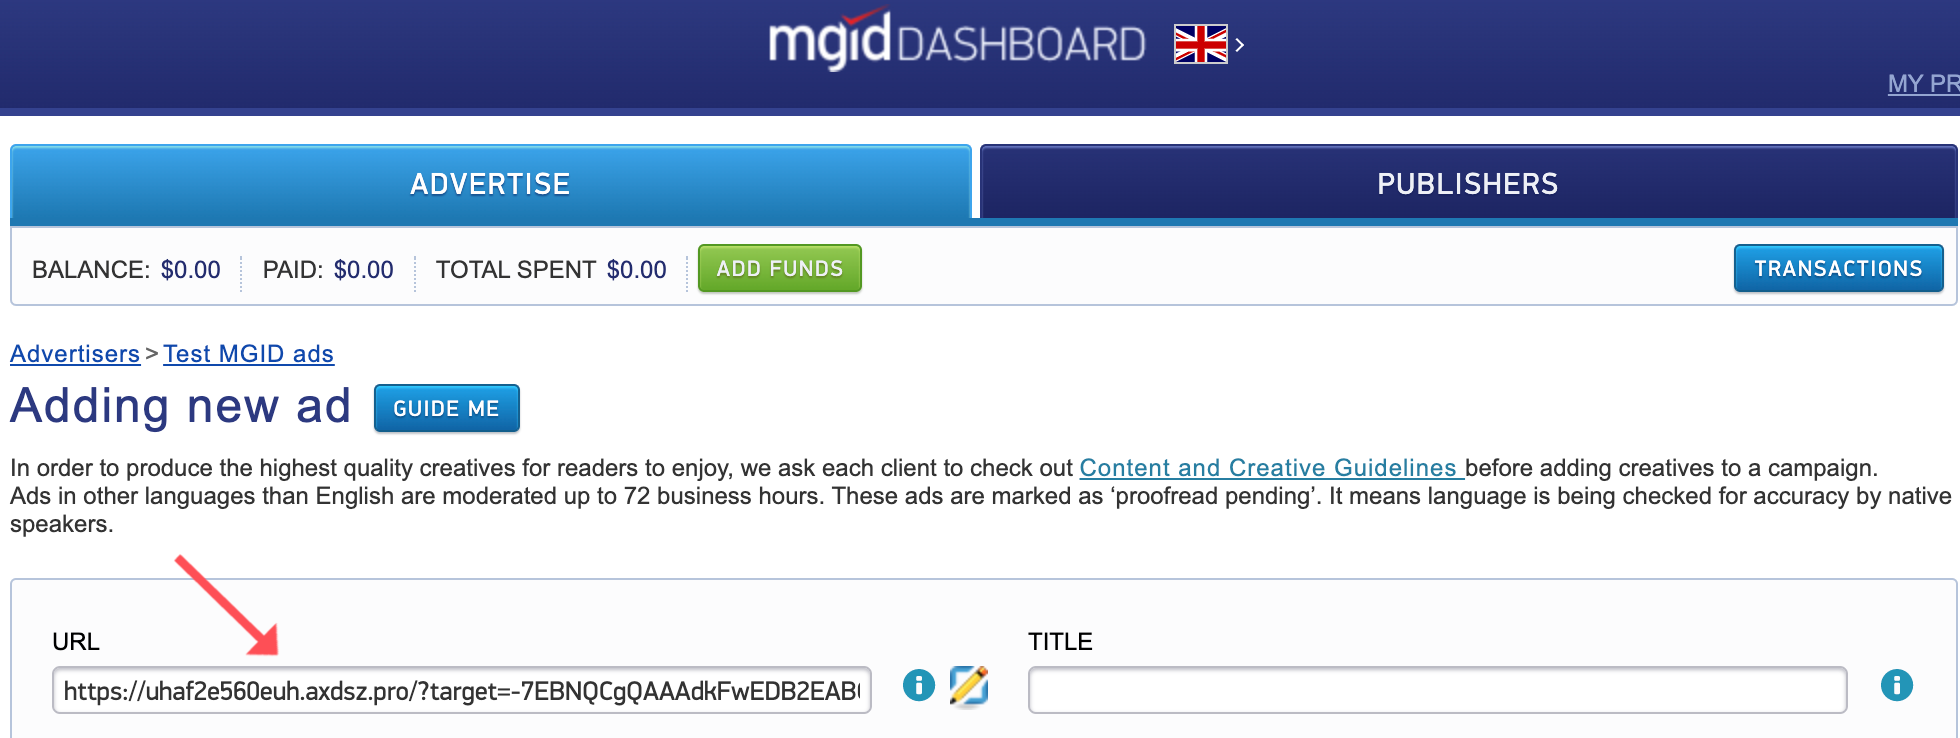
The link in the Tracking URL field will be updated automatically. That's the link you should use during the creation of new teasers.
IMPORTANT:
Copy the link by clicking on the icon “Copy link” to the right of the required link,
The link won't remain after saving the offer, and if you don’t copy the link, you'll need to repeat the steps 2, 5, 6, 7 again.
Insert the link in the teaser’s field in MGID.
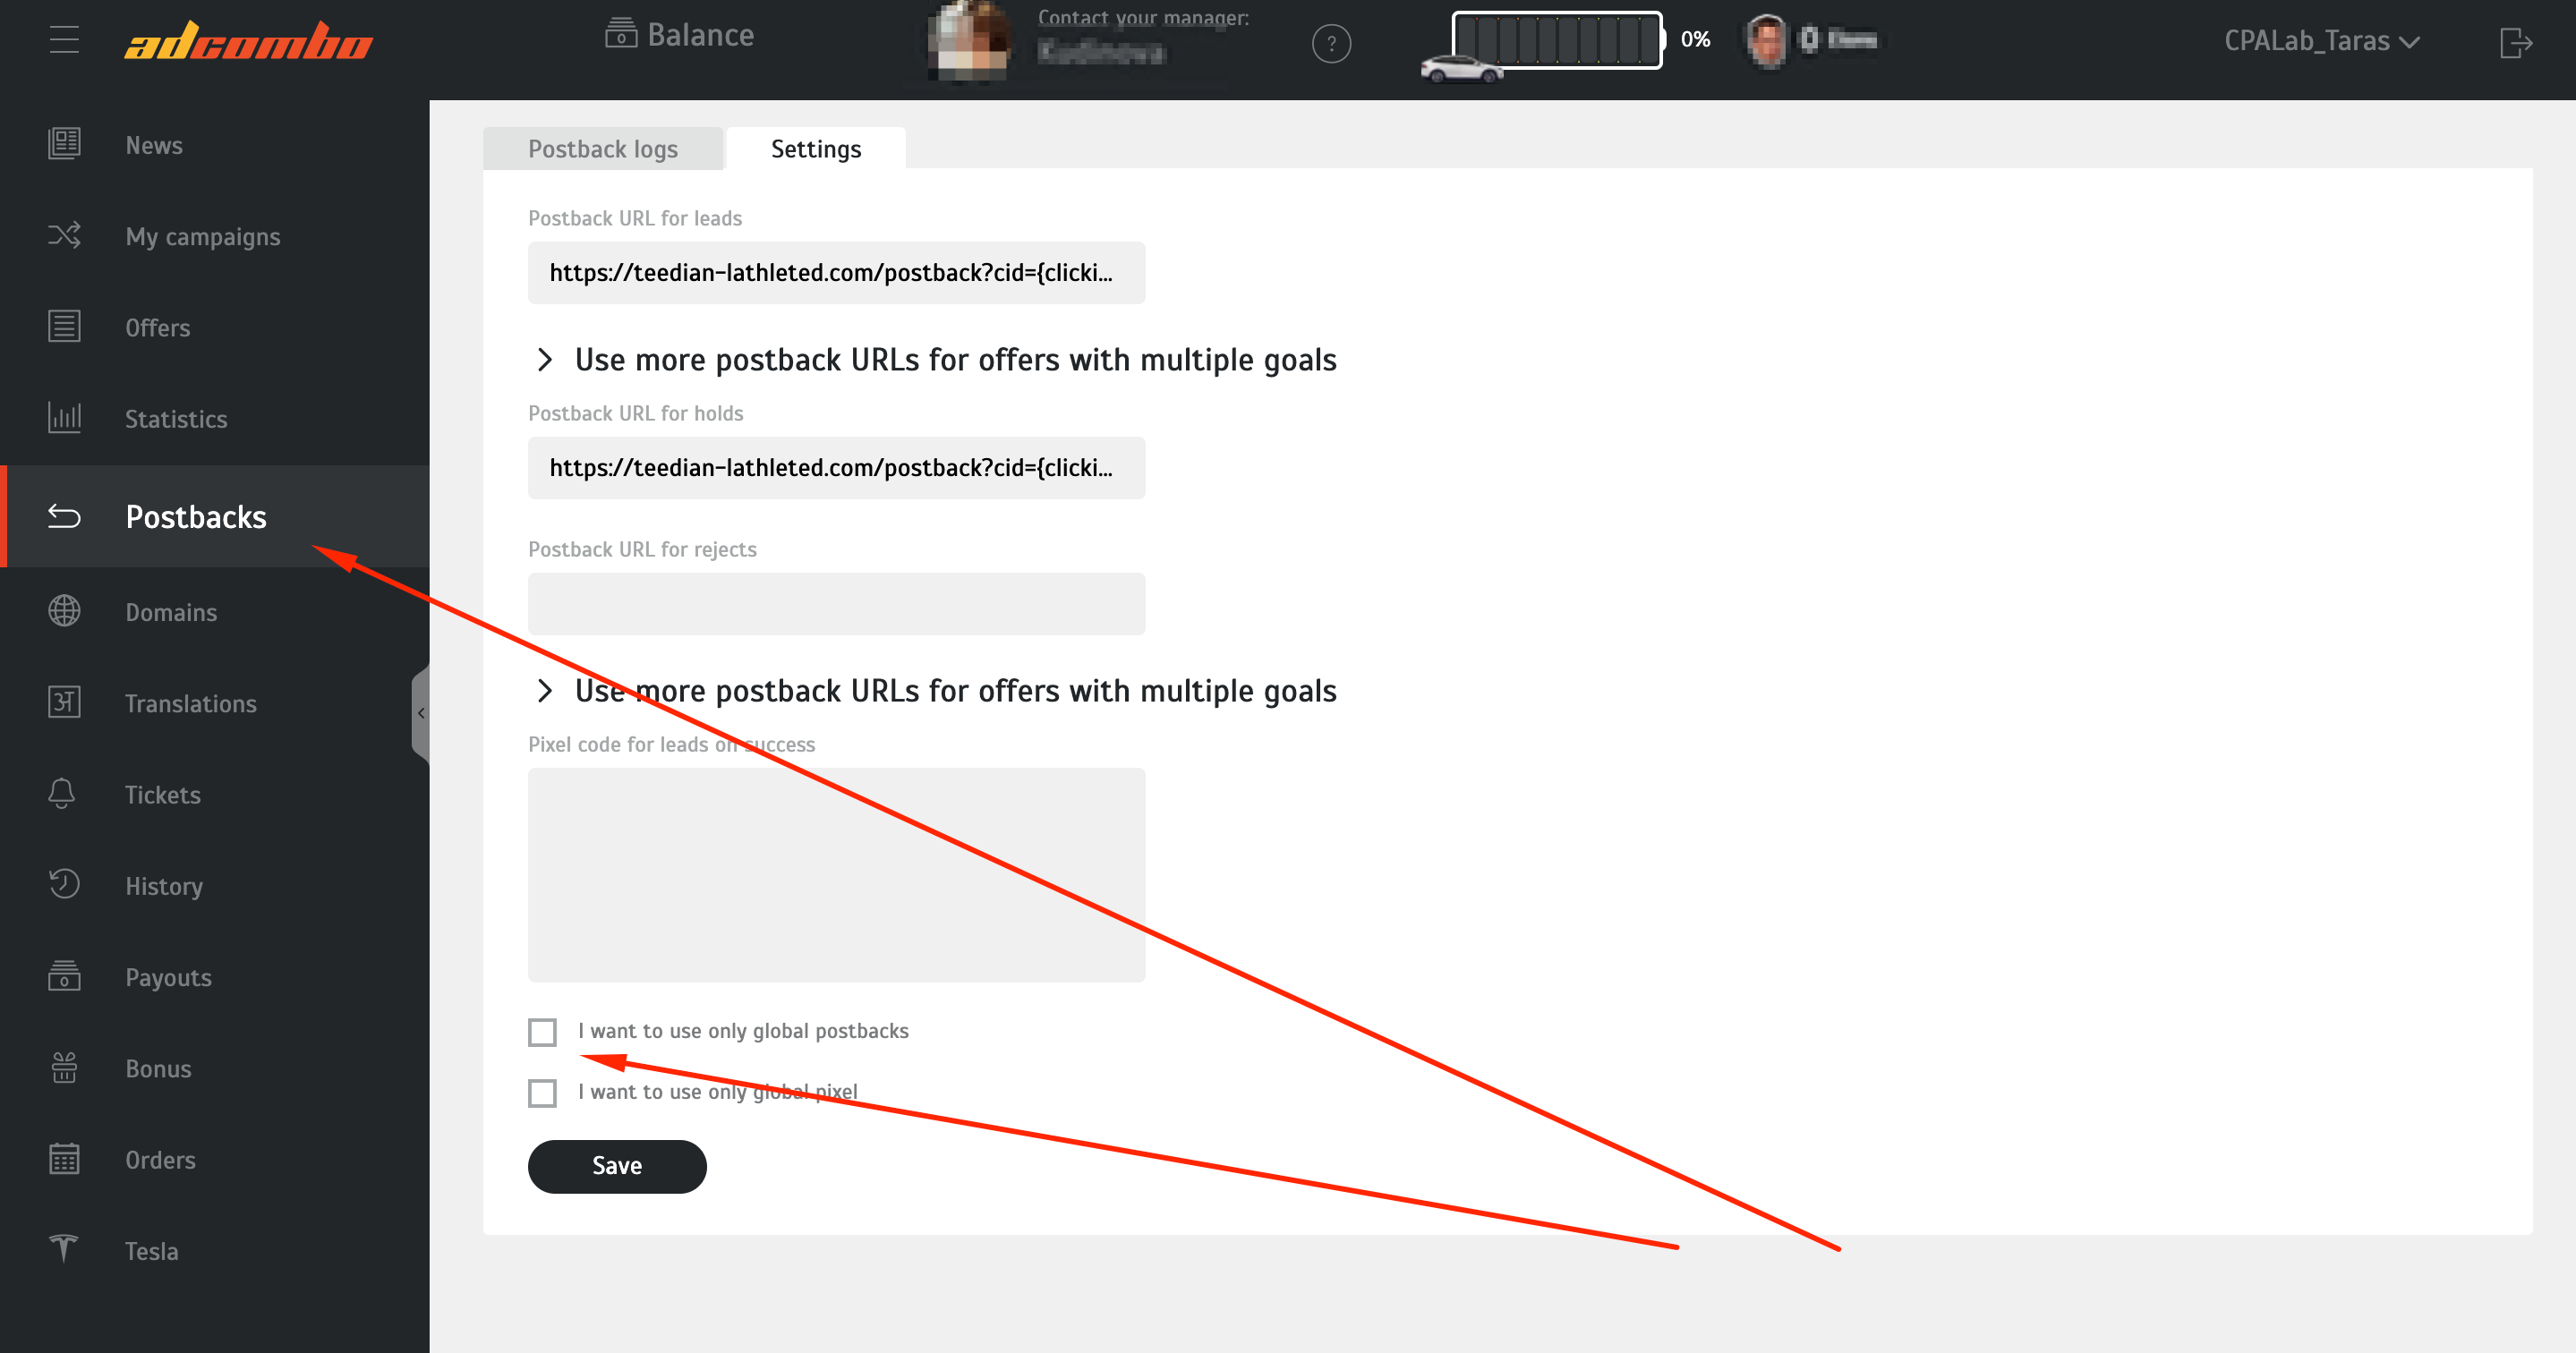
6. Select the Postback/Pixel tab.
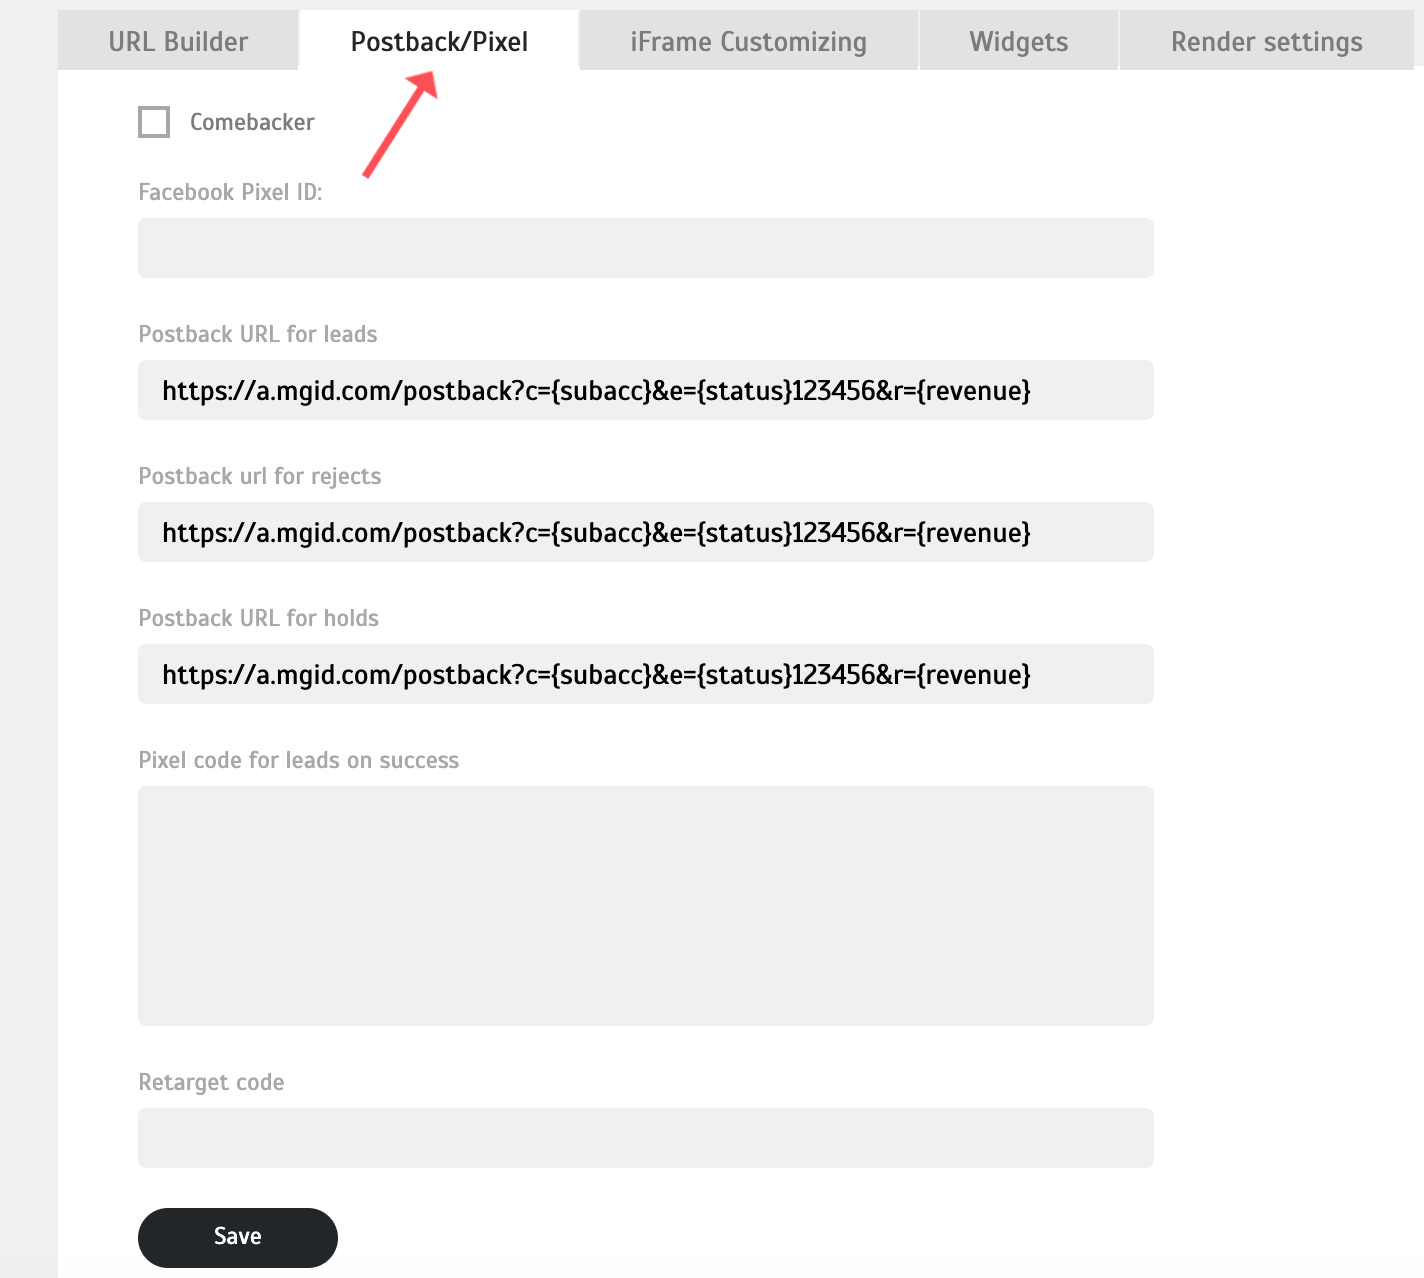
There are 3 fields for sending Postback
Depending on the offer’s status (holds, leads, rejects) put the value in the required field:
https://a.mgid.com/postback?c={subaccasket&e={statusUS123456&r={revenue}
* 123456 is a unique parameter for our system (e.g. campaign ID). This parameter will be transferred to our system along with the status of the event.
{subacc} is the macro specified in clause 5, and it will transfer the click_id to MGID
{status} is the order status
{status} is the macro transferring the triggered order status (holds, leads, rejects)
Then, scroll down and save the settings.
Please do not forget to turn off the "Global Postback" checkbox if you work with other networks.
Testing the Postback URL Settings in Dashboard
This option was developed so that the client could check immediately whether he had set everything up correctly both on his own and on our side. During the check, clicks are not counted, money is not debited, and the verification data is not included in statistics. To check the correctness of an advertising campaign and its integration settings, there is an opportunity to check the operation of Postback.
To do this, switch to the “Advertisers" section” in Dashboard.
Follow the link indicated under the teaser:

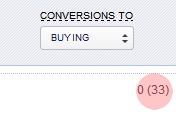
Perform the target action (Order, Subscribe, Register, etc.). In this case, it is To confirm the order (See paragraph 5). Within 15 minutes, a test conversion will be displayed in total statistics of the client’s account (test transactions are displayed in brackets):
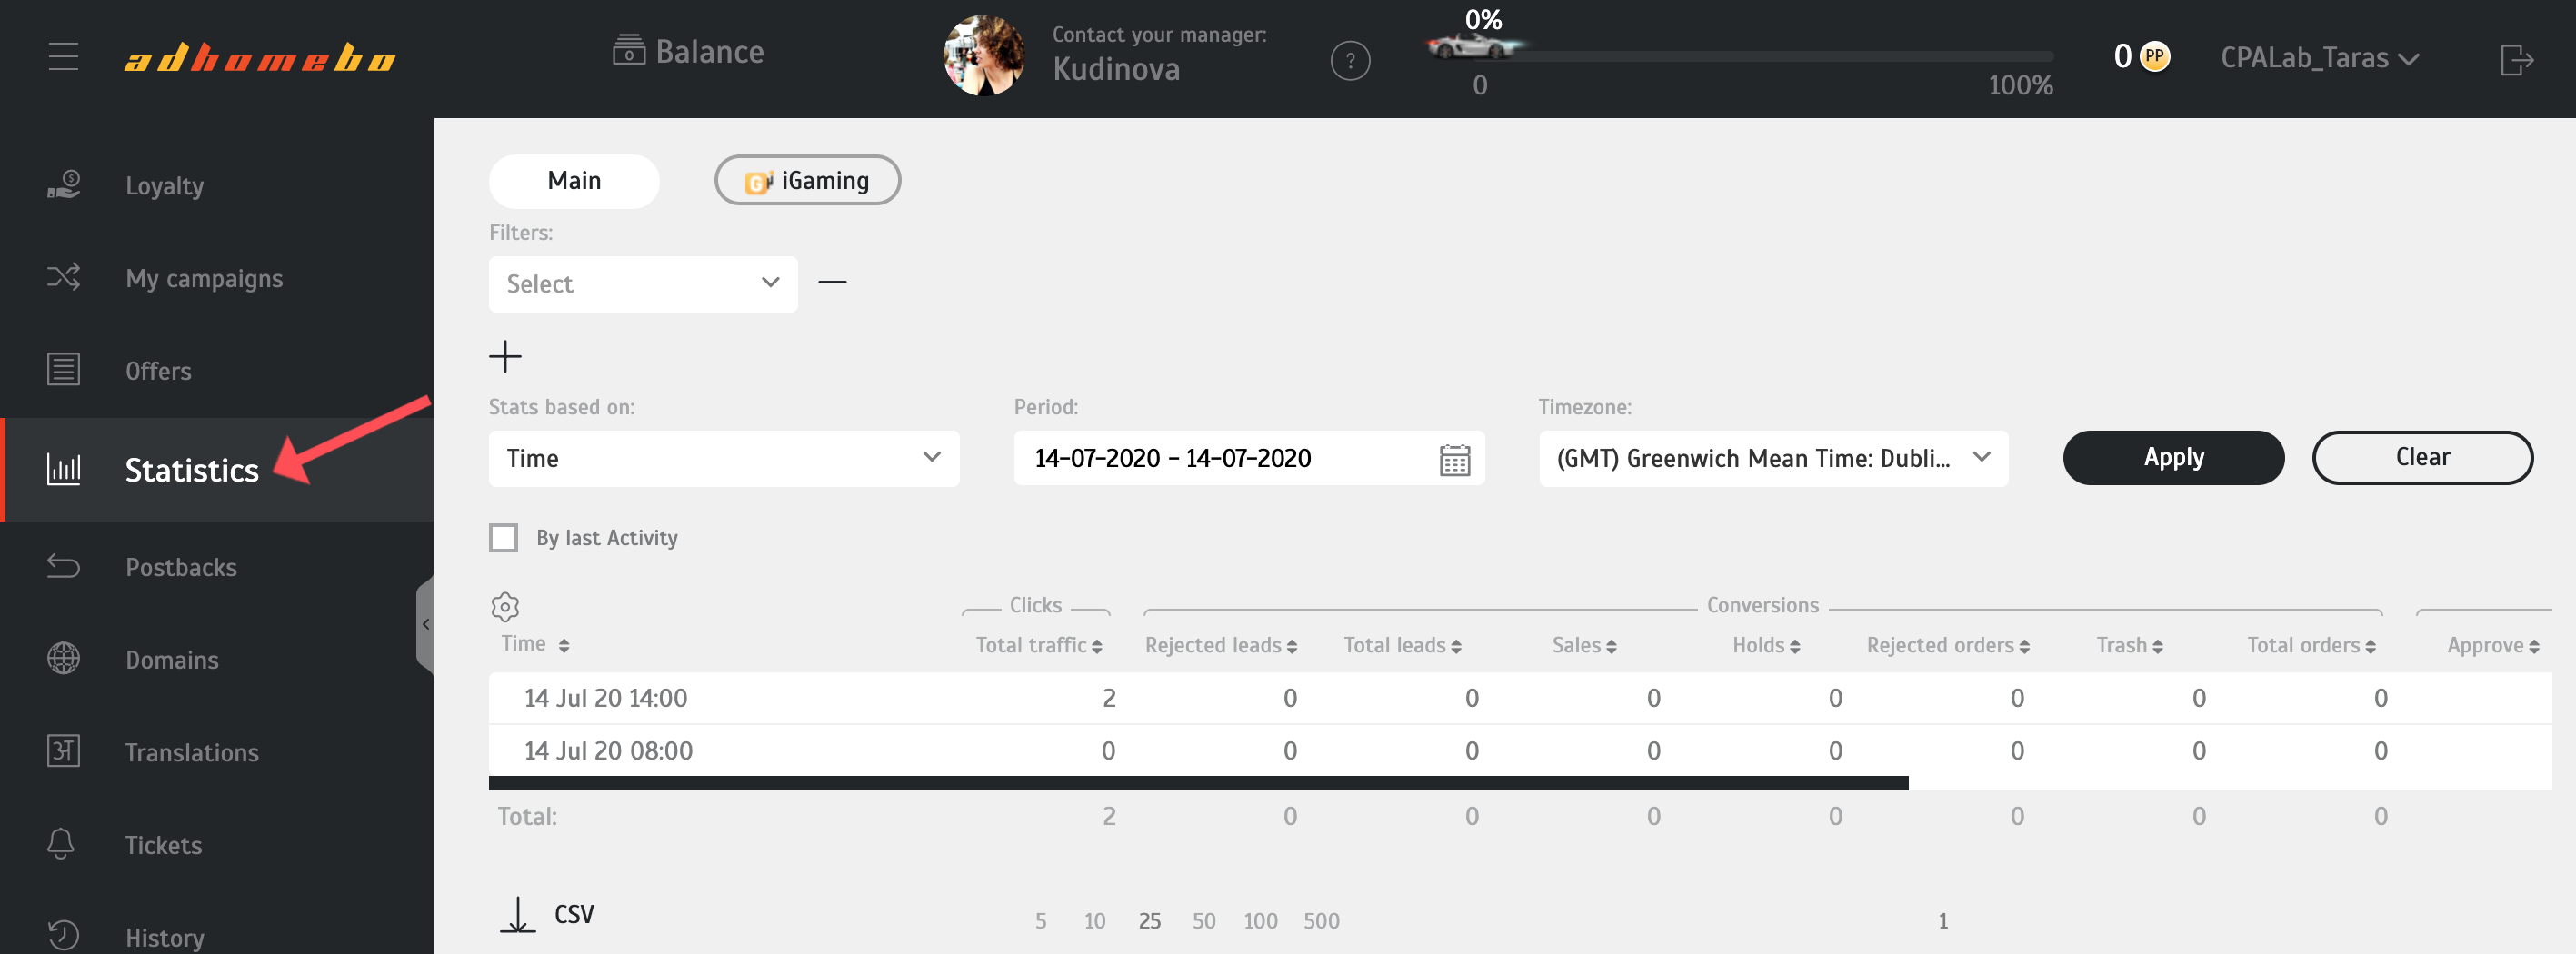
You can see the statistics of the clicks by going to the Statistics tab.
