Tip: The instruction below covers tracker integration. If you want to check the partner’s documentation, please follow this link here.
1. MGID Dashboard Settings
Set up an existing or a new advertising campaign in Dashboard.
Add a new advertising campaign in Dashboard.

Add stages 1 to 3 of conversions (Interest, Desire, Action), or you can choose an existing or a new goal.
Add the click_id = {click_id} parameter to Tracking Tags. The name of the click_id parameter is arbitrary, but if desired, you can choose another name. Also, to transmit the hash, the {click_id} macro is required.
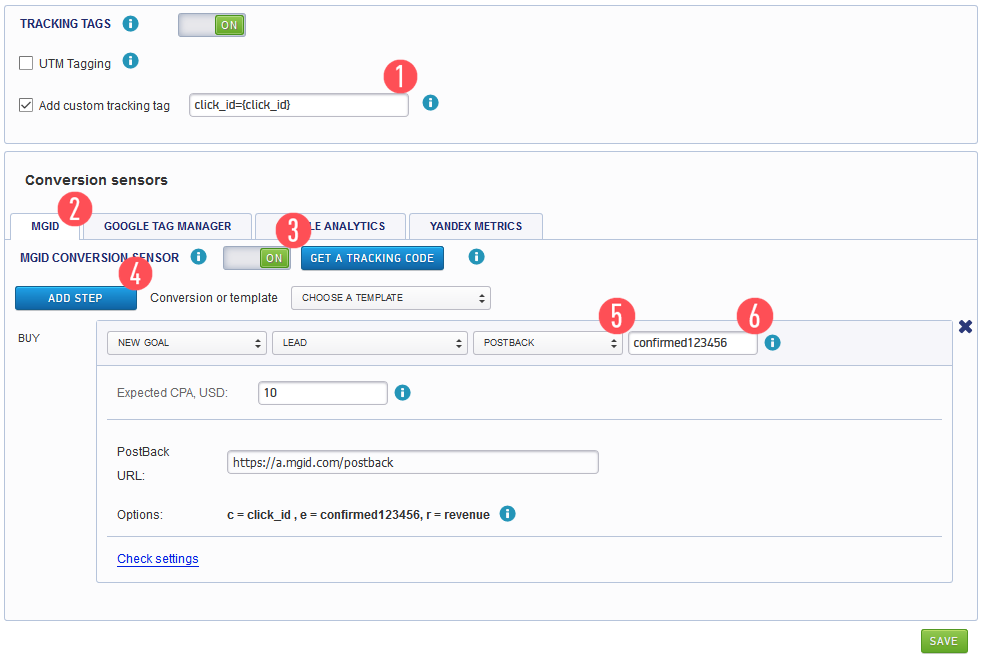
* 123456, seen in the image above, is a unique parameter for our system (e.g. campaign ID). This parameter is transferred to our system along with the status of the event.
Event statuses may be transferred to MGID using the {status} macro with preset values in RedTrack:
- Approved
- Pending
- Declined
- Other
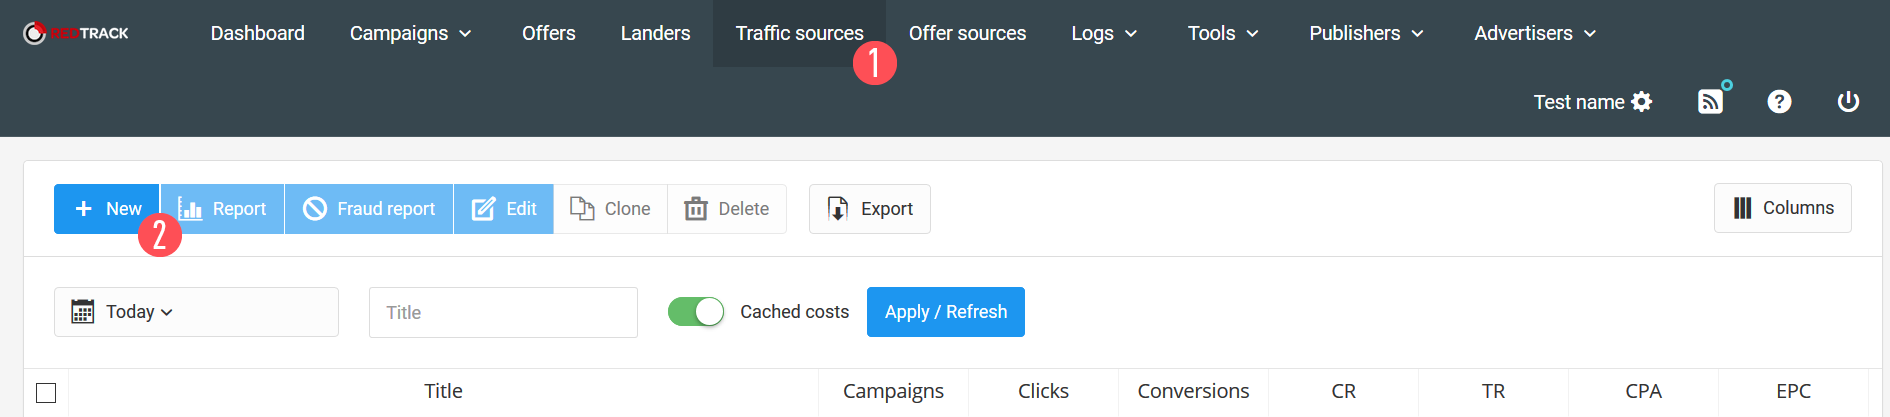
- Log into RedTrack tracker.
![]()
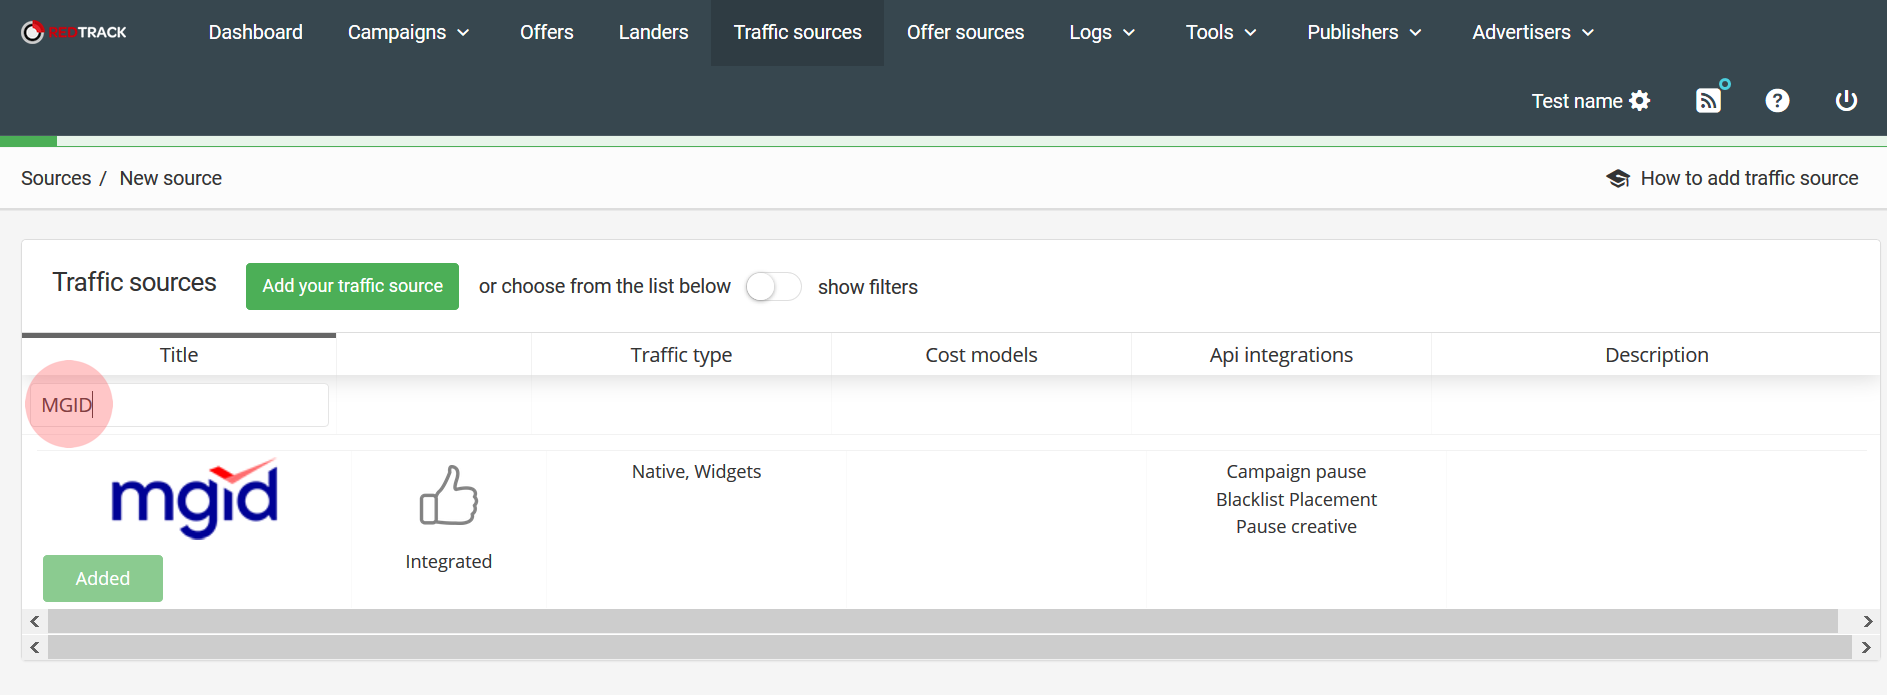
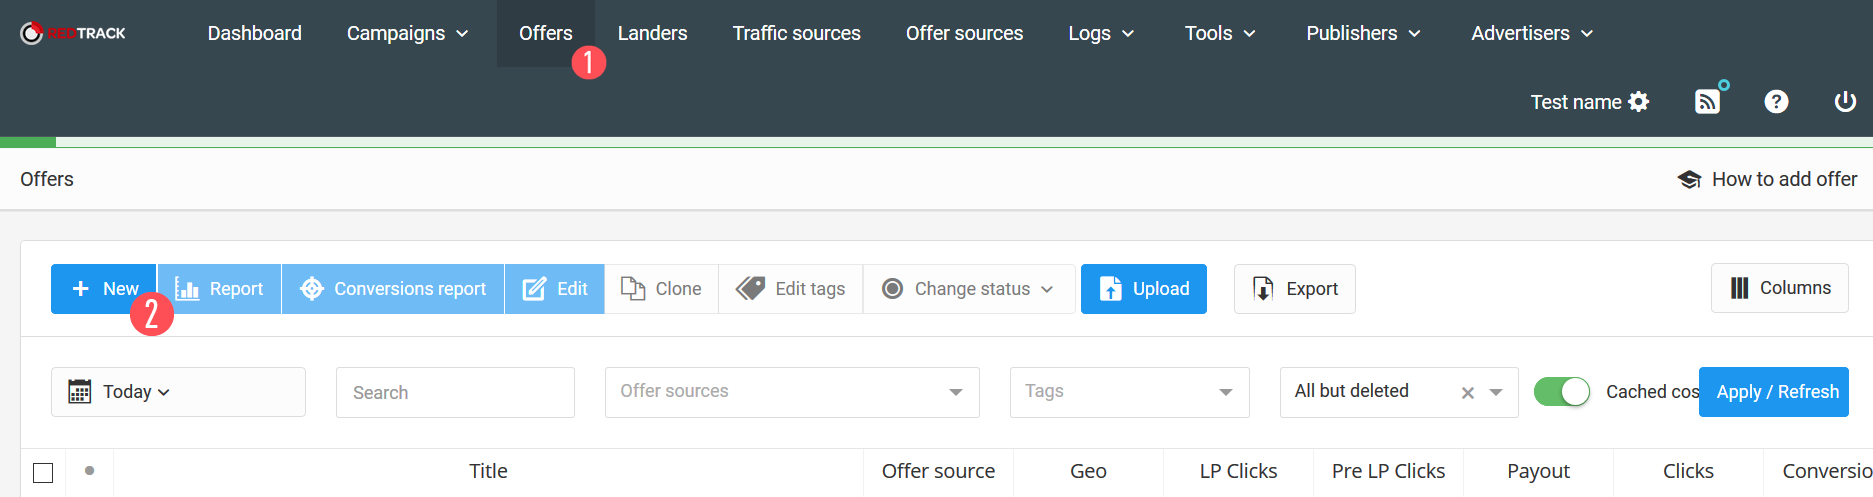
Add a new traffic source.
Find MGID template in the search.
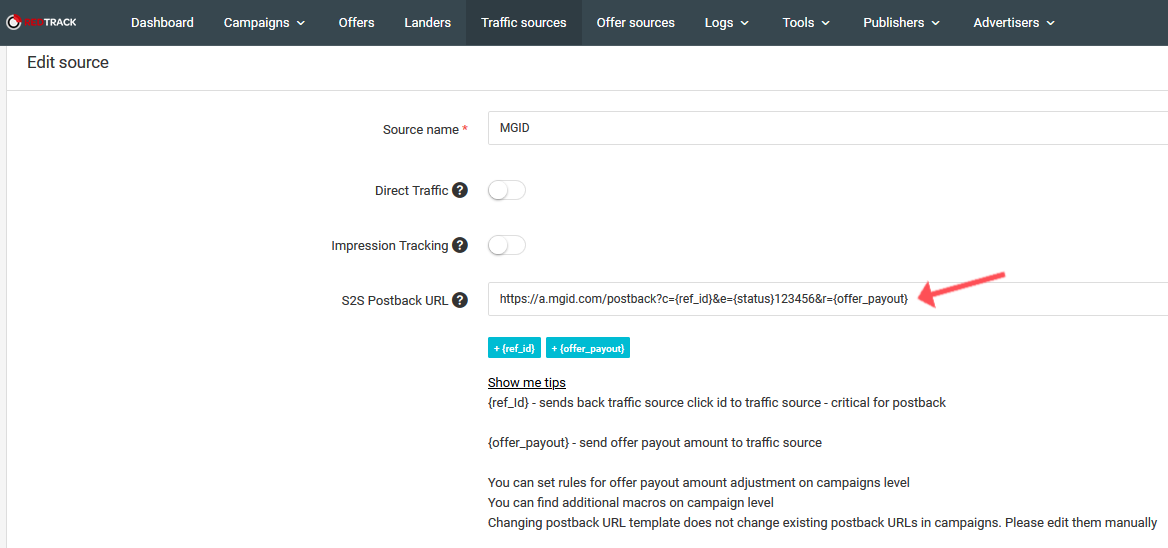
Set S2S Postback URL:
https://a.mgid.com/postback?c={ref_id}&e={status}123456&r={offer_payout}
* 123456 is a unique parameter for our system (e.g. campaign ID). This parameter is transferred to our system along with the status of the event.
Fill in the Postback URL. It can be found in advertising campaign settings in MGID Dashboard, and it will look like this:
https://a.mgid.com/postback?c={ref_id}&e={status}123456&r={offer_payout}
*123456 is a unique parameter for our system (e.g. campaign ID). This parameter is transferred to our system along with the status of the event.
Where:
c={ref_id} is MGID’s click_id;
e={status} is a Postback goal identifier (Interest, Desire, Action) and is transferred via this macro;
r = {offer_payout} is an optional parameter to which conversion revenue can be transferred.
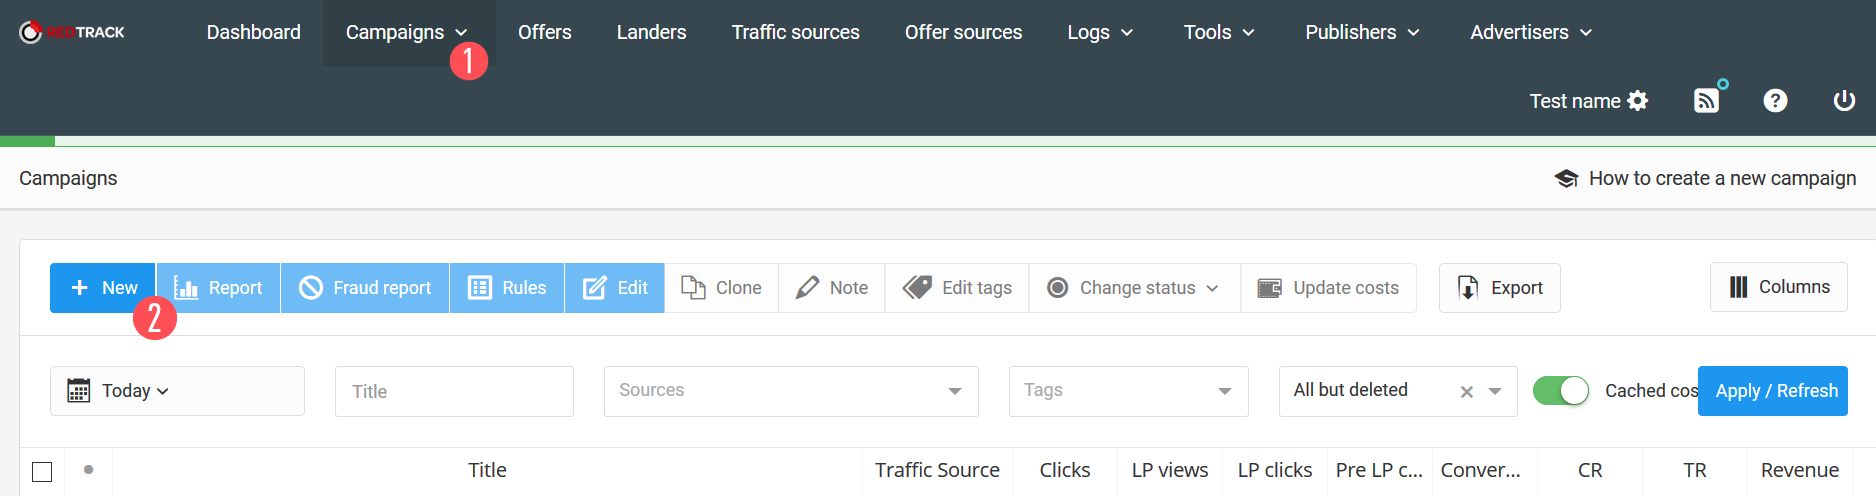
Ultimately, the traffic source settings will look like this:
https://a.mgid.com/postback?c={ref_id}&e={status}123456&r={offer_payout}
The required fields are filled in with the values from the template that you used.
![]()
The click_id parameter is taken from the custom UTM Tracking Tags in the advertising campaign settings in the MGID Dashboard. Other parameters can be added, if necessary.
2.2 Create a new offer
It is necessary to fill in the offer name and the landing page link. It is also required to refer to parameter in which the internal RedTrack clickid was transferred, e.g. http://yoursite.com?click_id={clickid}.
![]()
If Revenue is transmitted, please fill in the Payment field in dollars. From there, the option to fill in an Affiliate Network will be offered. The Postback URL is formed in the offer to transfer conversions from the landing page (site) to RedTrack tracker.
Note: If the revenue is not transferred, the Payout field should equal 0.
2.3. Create a new campaign
What’s worth your attention during the creation of a campaign?
Traffic: Choose the traffic source (See paragraph 2.1 of this guide.)
Redirect: Type of redirection from RedTrack to landing page (site).
Offers: In the Offers menu, a previously created offer should be selected.
Campaign URL: Initially, the Campaign URL field in RedTrack will not be filled; however, the link for this field will appear after saving the campaign.
From there, you need to specify the links to the teasers in the MGID Dashboard.
![]()
- Transfer of Postback to RedTrack and its check
After setting up the MGID Dashboard and RedTrack, it is necessary to set up the transfer of Postback to RedTrack tracker either on the site, or on the landing page. Postback is sent to RedTrack by a POST request. A link to the request is taken from Campaign URL settings, and the link will look similar to the following:
https://rdtrck2.com/postback?clickid={click_id}&txid={status}&sum={payout}
Link parameters:
clickid is Redtrack’s internal click_id, which is transferred to the end of the link after redirects;
txid is the transaction id. In this case the parameter should be sent to Postback goal identifier (Interest, Desire or Action);
the sum is an optional parameter necessary to transfer conversion revenue.
You can choose any handy option to transfer Postback to Redtrack, e.g. using JavaScript from the site or PHP from the server.
Checking the Postback URL Settings in the Dashboard
This option was designed so the client could check immediately whether he had set up everything correctly both on his and our side.
During the check clicks are not counted for the client, money is not debited and the verification data is not included in statistics.
To check the correctness of an advertising сampaign and its integration settings, there is an opportunity to check the Postback operation.
To perform this, it is necessary to switch to the "Teasers" section in Dashboard.
Follow the link indicated below the teaser:
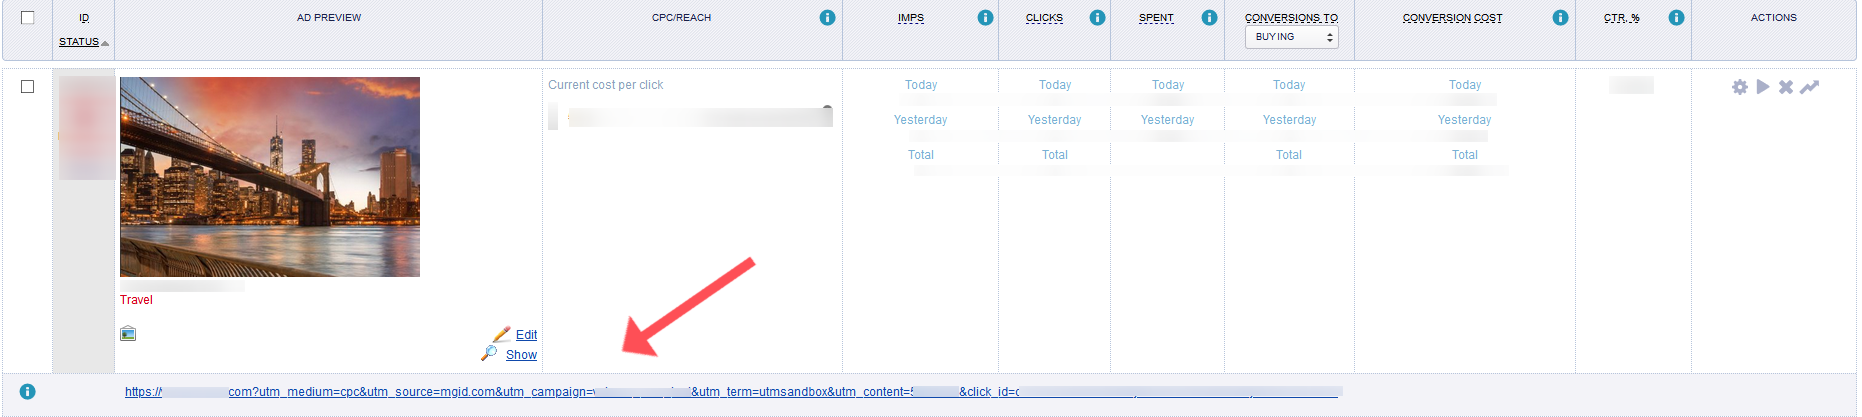
Perform the desired action (Order, Subscribe, Register, etc.).
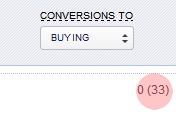
Within 15 minutes, the test conversion will be displayed in total statistics of the client’s account (test conversions are displayed in brackets).
You can view the statistics and choose the required additional parameter that indicates the period of dates in the traсker. To do this, choose the required campaign in the menu and select the Report Option.
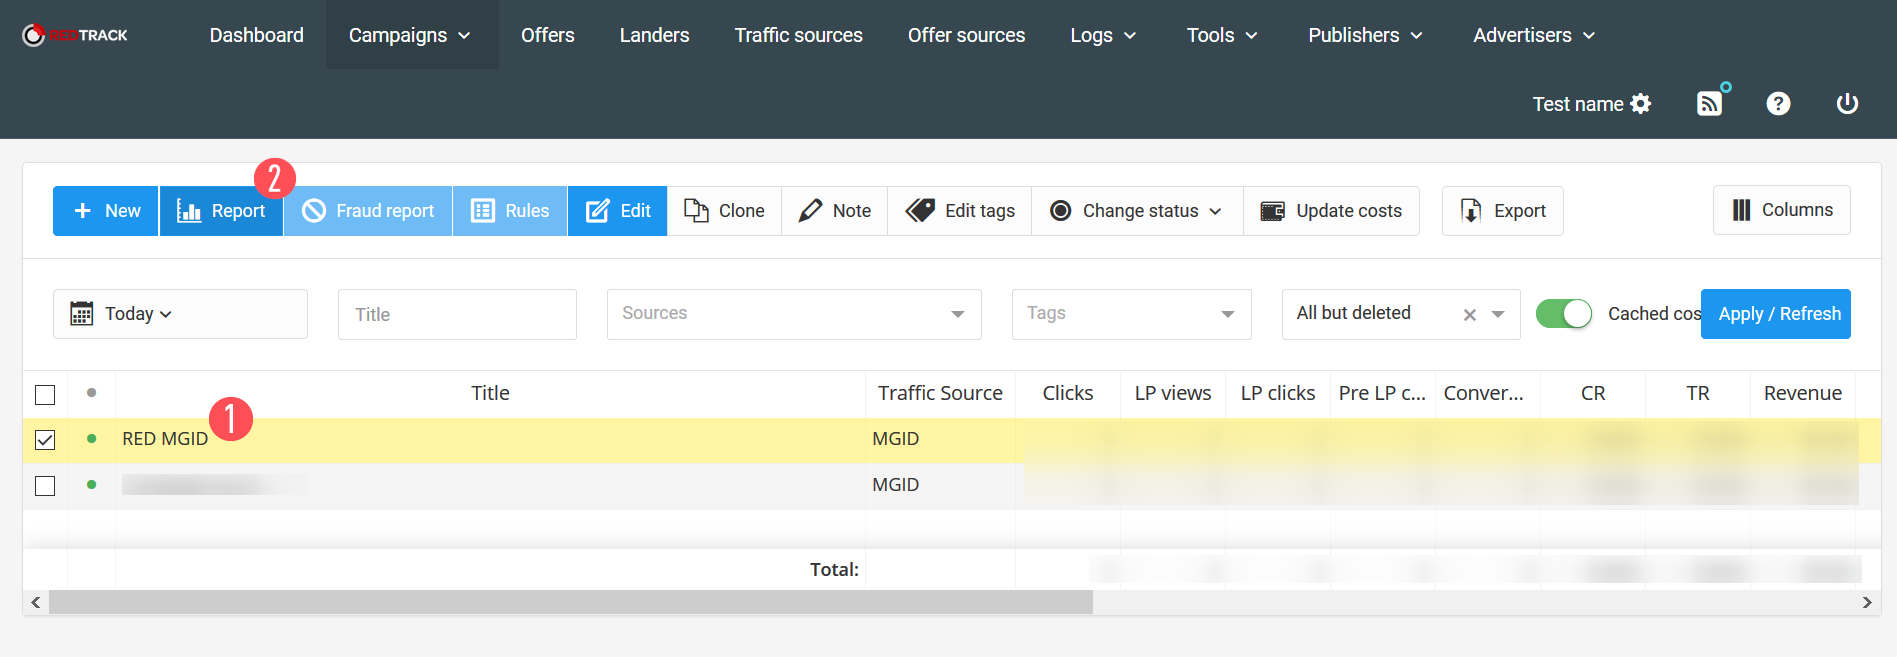
Next, select the necessary parameters to view the statistics.
![]()
Thus, by following this guide, you will be able to set up RedTrack Tracker Integration.