Postback Setup Algorithm
- Add Campaign in Dashboard.

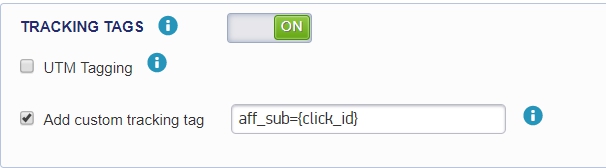
2. Set the following parameter/macro in the Custom UTM Tracking Tags in Dashboard, and click on the “Save” button:
- aff_sub,2,3,4,5={click_id}
For example:
Important: the click_id you enter in the MGID Dashboard should be the same as the values registered in the Adsbridge system in which the final Postback link (Tracking ID) is entered.
Important: the aff_sub (Sub ID) you enter in the MGID Dashboard should be the same as the one in the Affiliate Program, in which the Postback link is entered.
3. Add 1 to 3 conversion stages to the Conversion sensors (Interest, Desire, Action).
It can be an existing or a new stage.
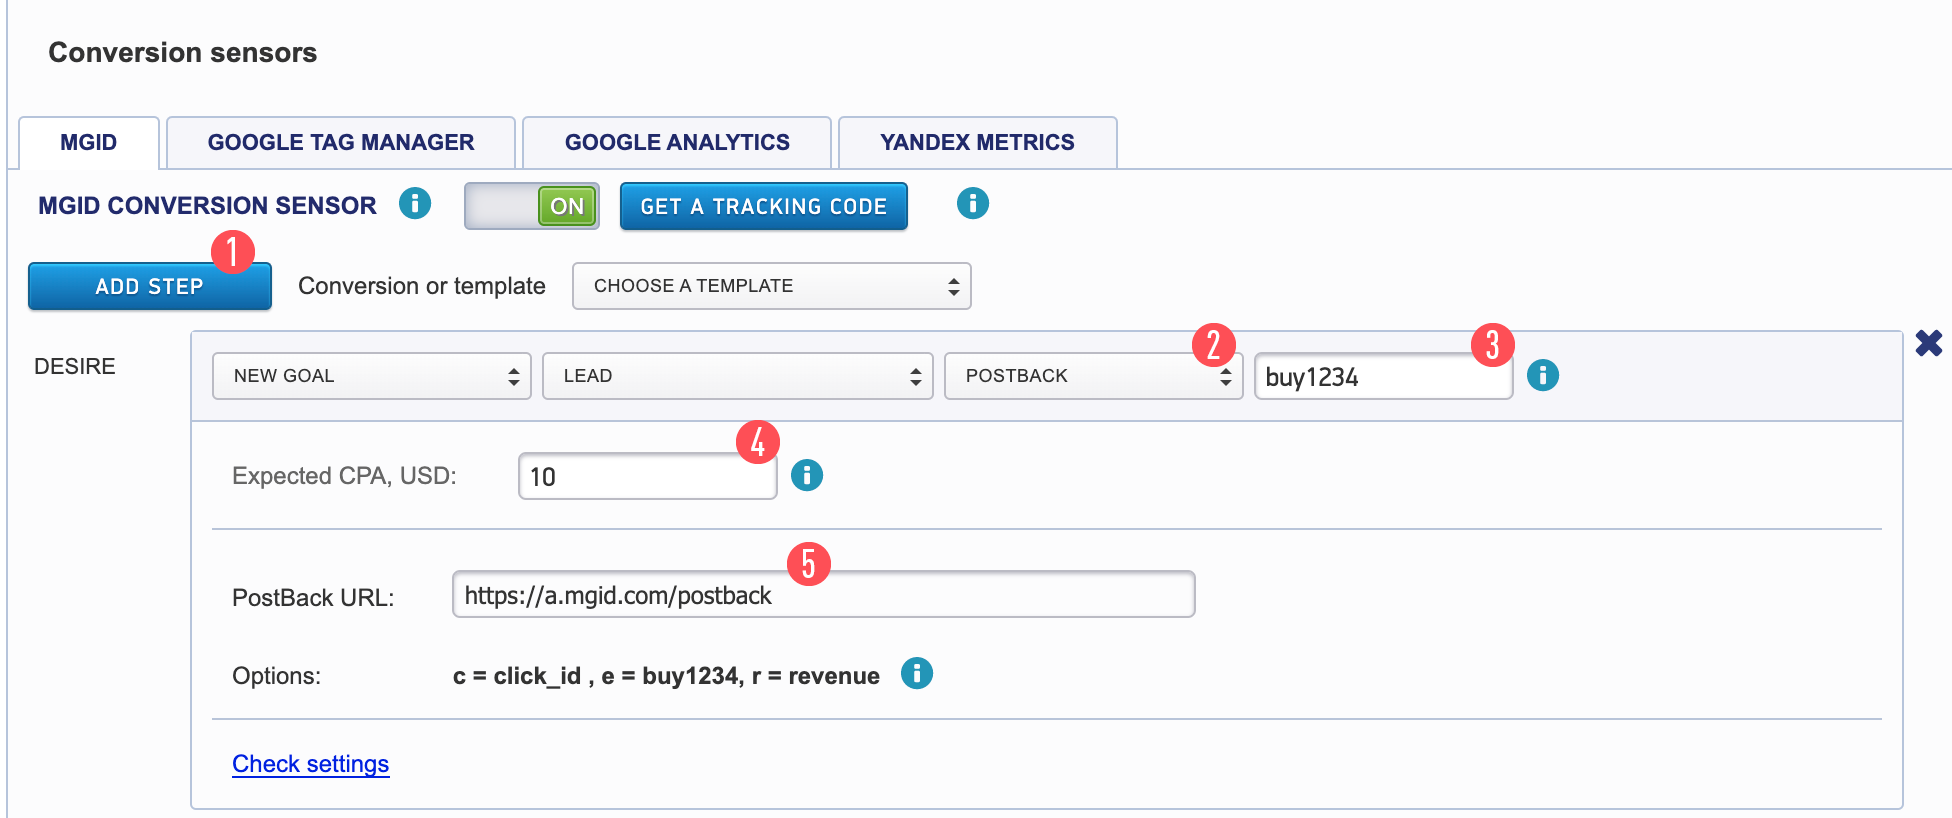
Please complete the following actions step-by-step:
- Click the “Add Step” button [1].
- Select the Postback tab [2].
- Fill in the event name [3] (any combination of A-Z characters and numbers).
- Set conversion value (optional) [4].
- Copy the Postback link on the MGID side [5].
- Save settings [6].
Here’s an example of what the link should look like:
- http://a.mgid.com/postback?c={aff_sub}&e=buy123456&r={payout}
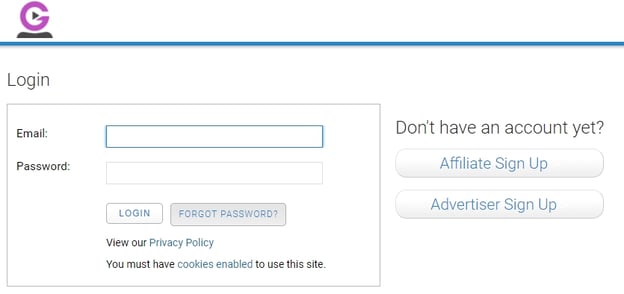
4. Log in to your Gamesvid.com account.
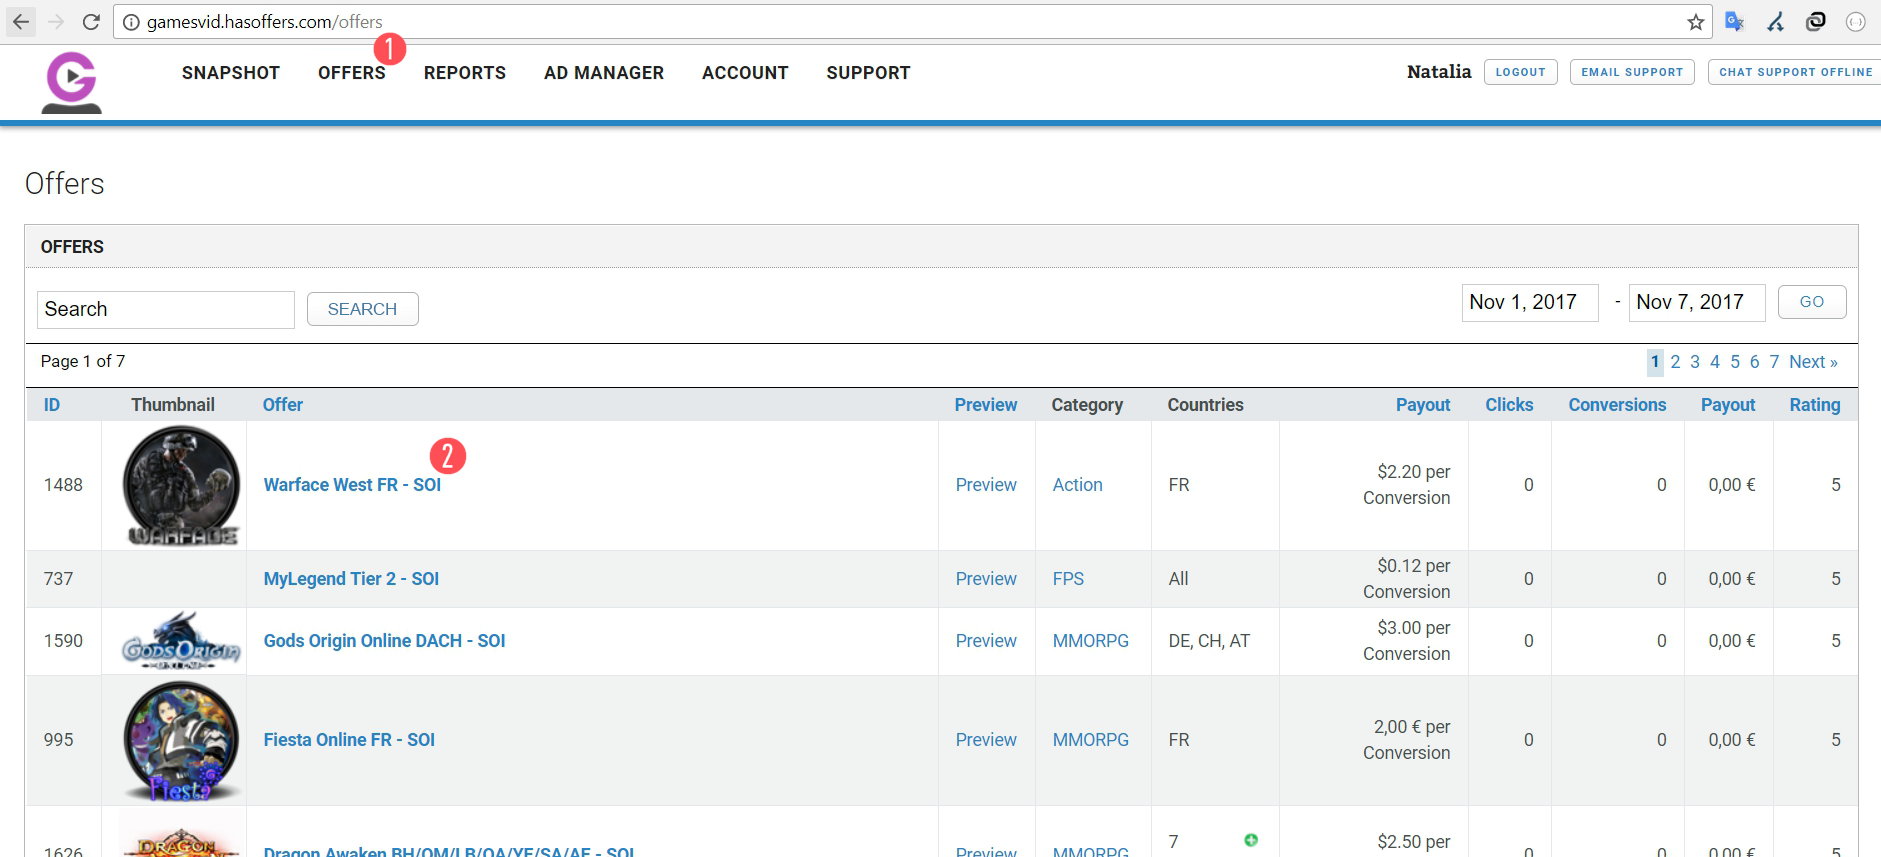
5. Select the required offer in the “Offers” section.
6. In order to set up Postback, scroll down to the CONVERSION PIXELS/URLS section in the offer settings.
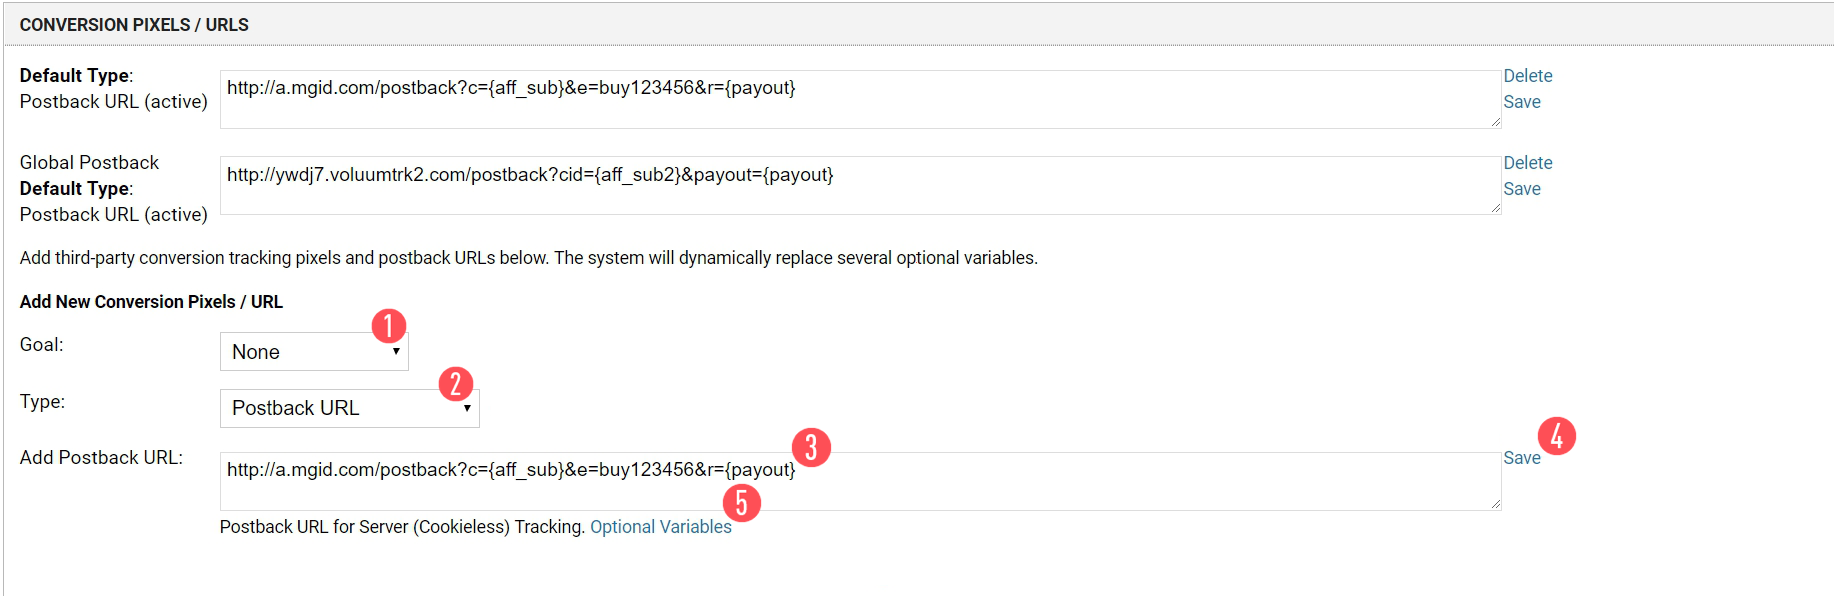
- Select the goal. To track the registrations choose “None&rdquo [1].
- Select the type of tracking – in this case, it is Postback URL [2].
- Enter the former Postback link [3].
http://a.mgid.com/postback?c={aff_sub}&e=buy123456&r={payout}
4. Save the changes [4].5. Using this link you can check all the existing macros, used by Gamesvid.com [5].
7. After saving the changes the page will refresh. In order to set up the tracking link,
go to the GENERATE TRACKING section.
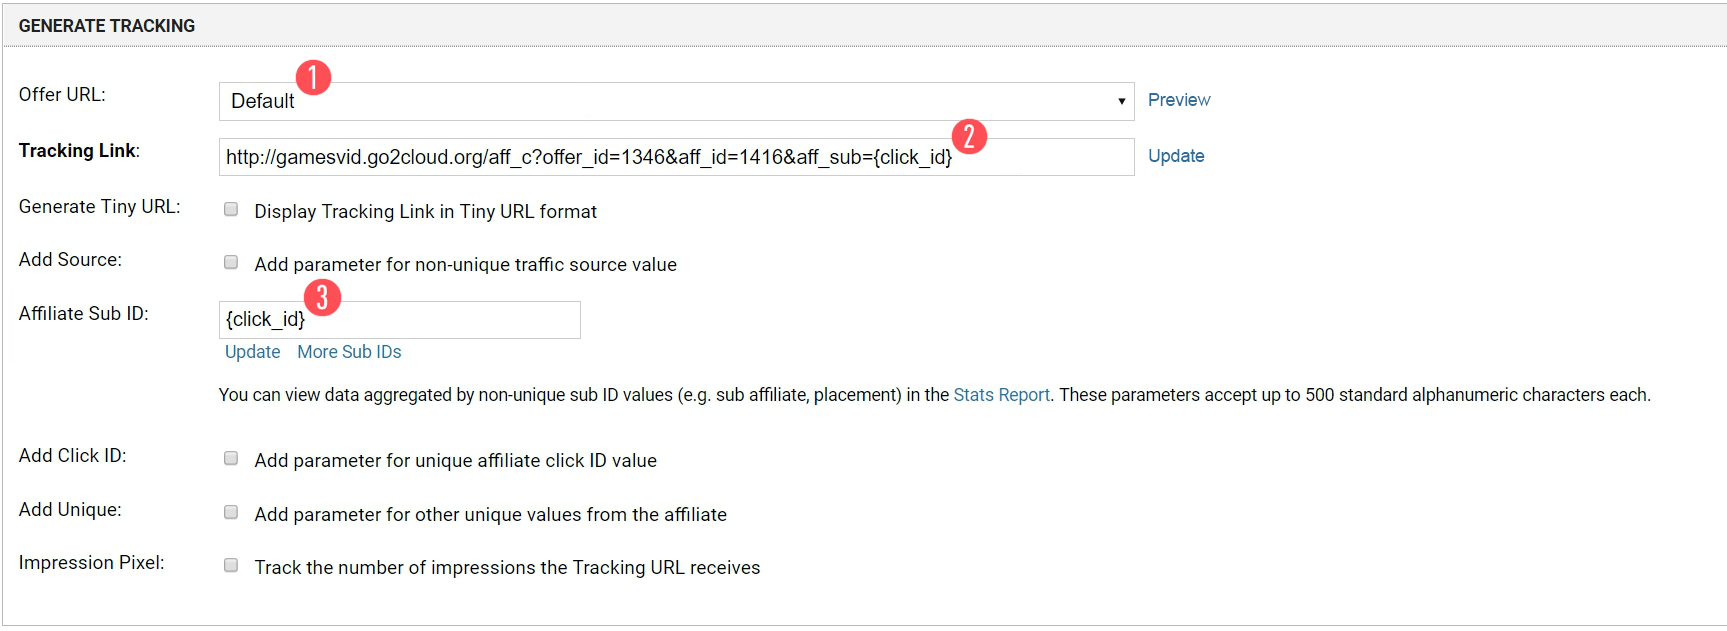
- Select the landing from the drop-down list [1].
- Copy the tracking link after saving the changes [2].
- If in step 2 (MGID ad campaign setup) the custom UTM Tracking Tags were left blank, in the Affiliate Sub ID add the {click_id} macro and click on the Update option [3].
This macro will be automatically added to the tracking link [2] (see the screenshot).
If you have already entered the {click_id} macro in the custom UTM Tracking Tags, don't add anything in the Affiliate Sub ID.
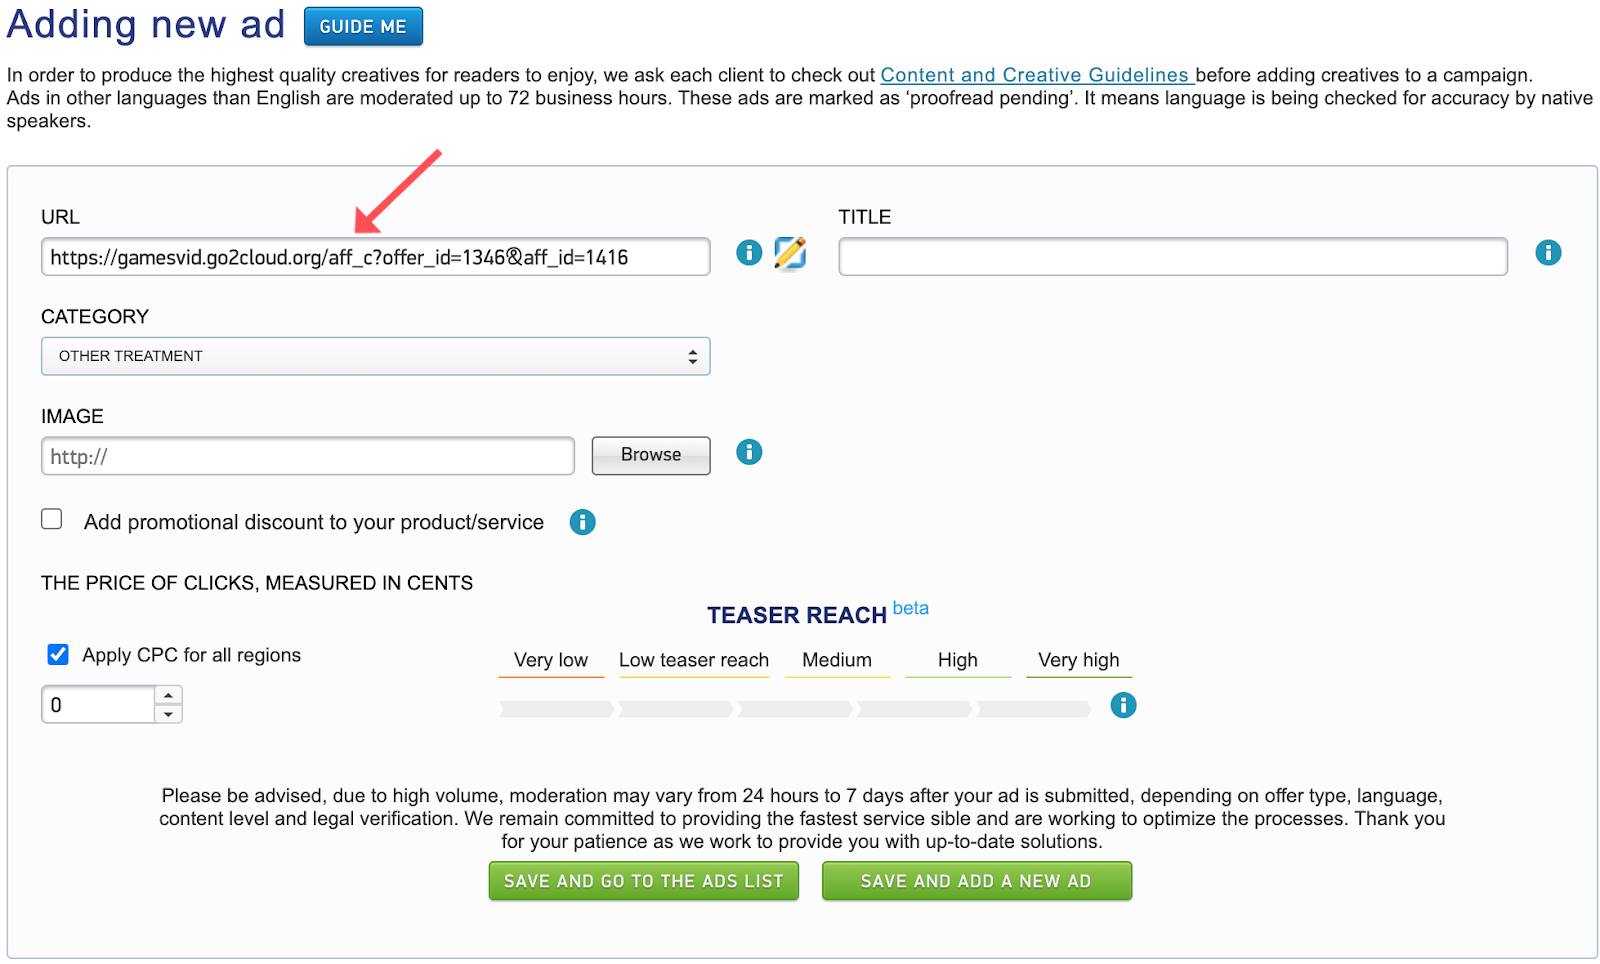
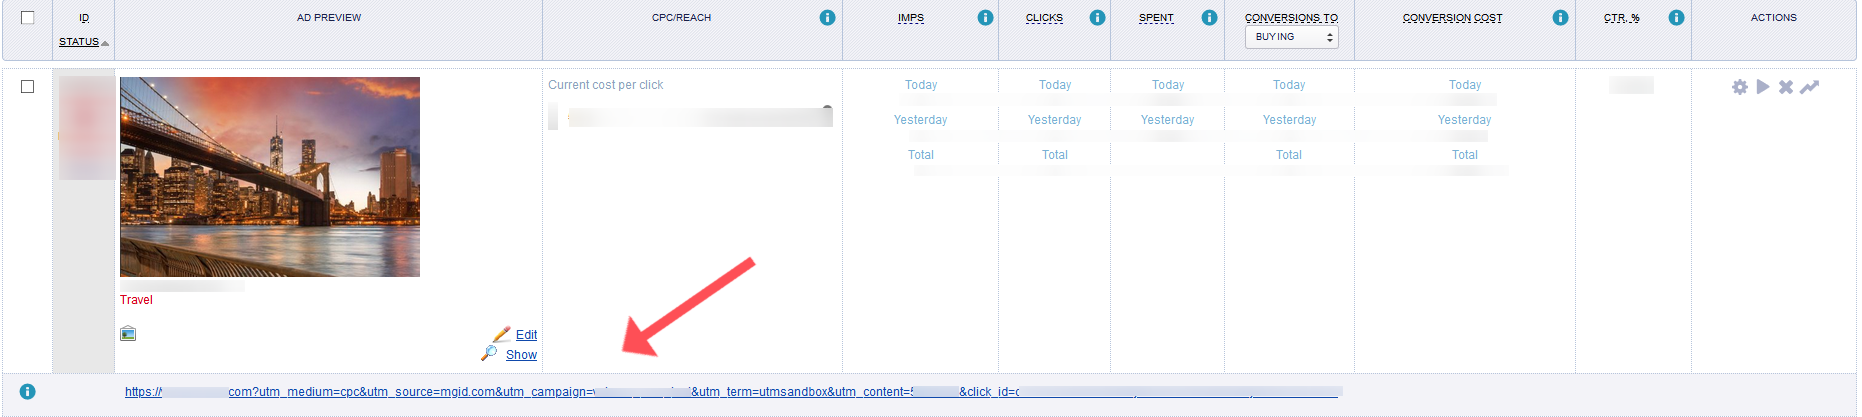
Create a teaser in the MGID Dashboard using our link.
Checking the Postback URL in the MGID Dashboard
This option was designed so that the client could immediately check whether he had set up everything correctly both on his and our side.
During the check clicks are not counted for the client, money for them is not debited, and the verification data is not included in statistics.
To check the correctness of an advertising сampaign and its integration settings, there is an opportunity to check the Postback operation.
To do this, it is necessary to switch to the "Teasers" section in Dashboard.
Follow the link indicated below the teaser:
Perform the desired action (Order, Subscribe, Register, etc.).
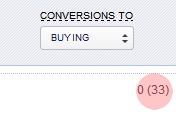
Within 15 minutes the test conversion will be displayed in total statistics of the client’s account (test conversions are displayed in brackets):
In the Statistics section you can select an additional parameter in a certain date period here.