For GTM option you need to make sure that UTM parameters are transferred in URL (not just in cookies) all over the flow, up to the conversion page.
Please use the UTM Tagging in the campaign settings:
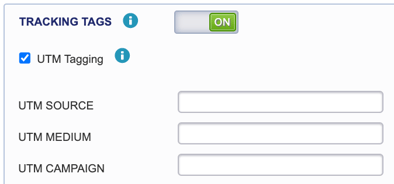
By default these fields will be filled in automatically but you can replace with info by your choice. It is highly recommended to use these tracking tags in campaign settings and not to hardcode them in tracking url.
Note: there is no need to copy/paste a piece of JS pixel code from MGID account if you are going to setup pixel with Google Tag Manager (GTM). MGID pixel template should be selected instead in GTM template Gallery (step 2).
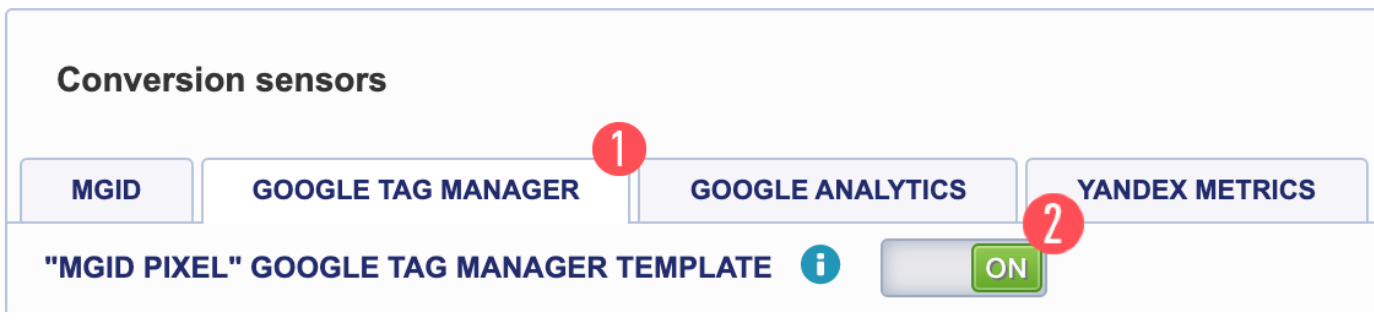
1. In the campaign settings select the Google Tag Manager option in the Conversion sensors block.
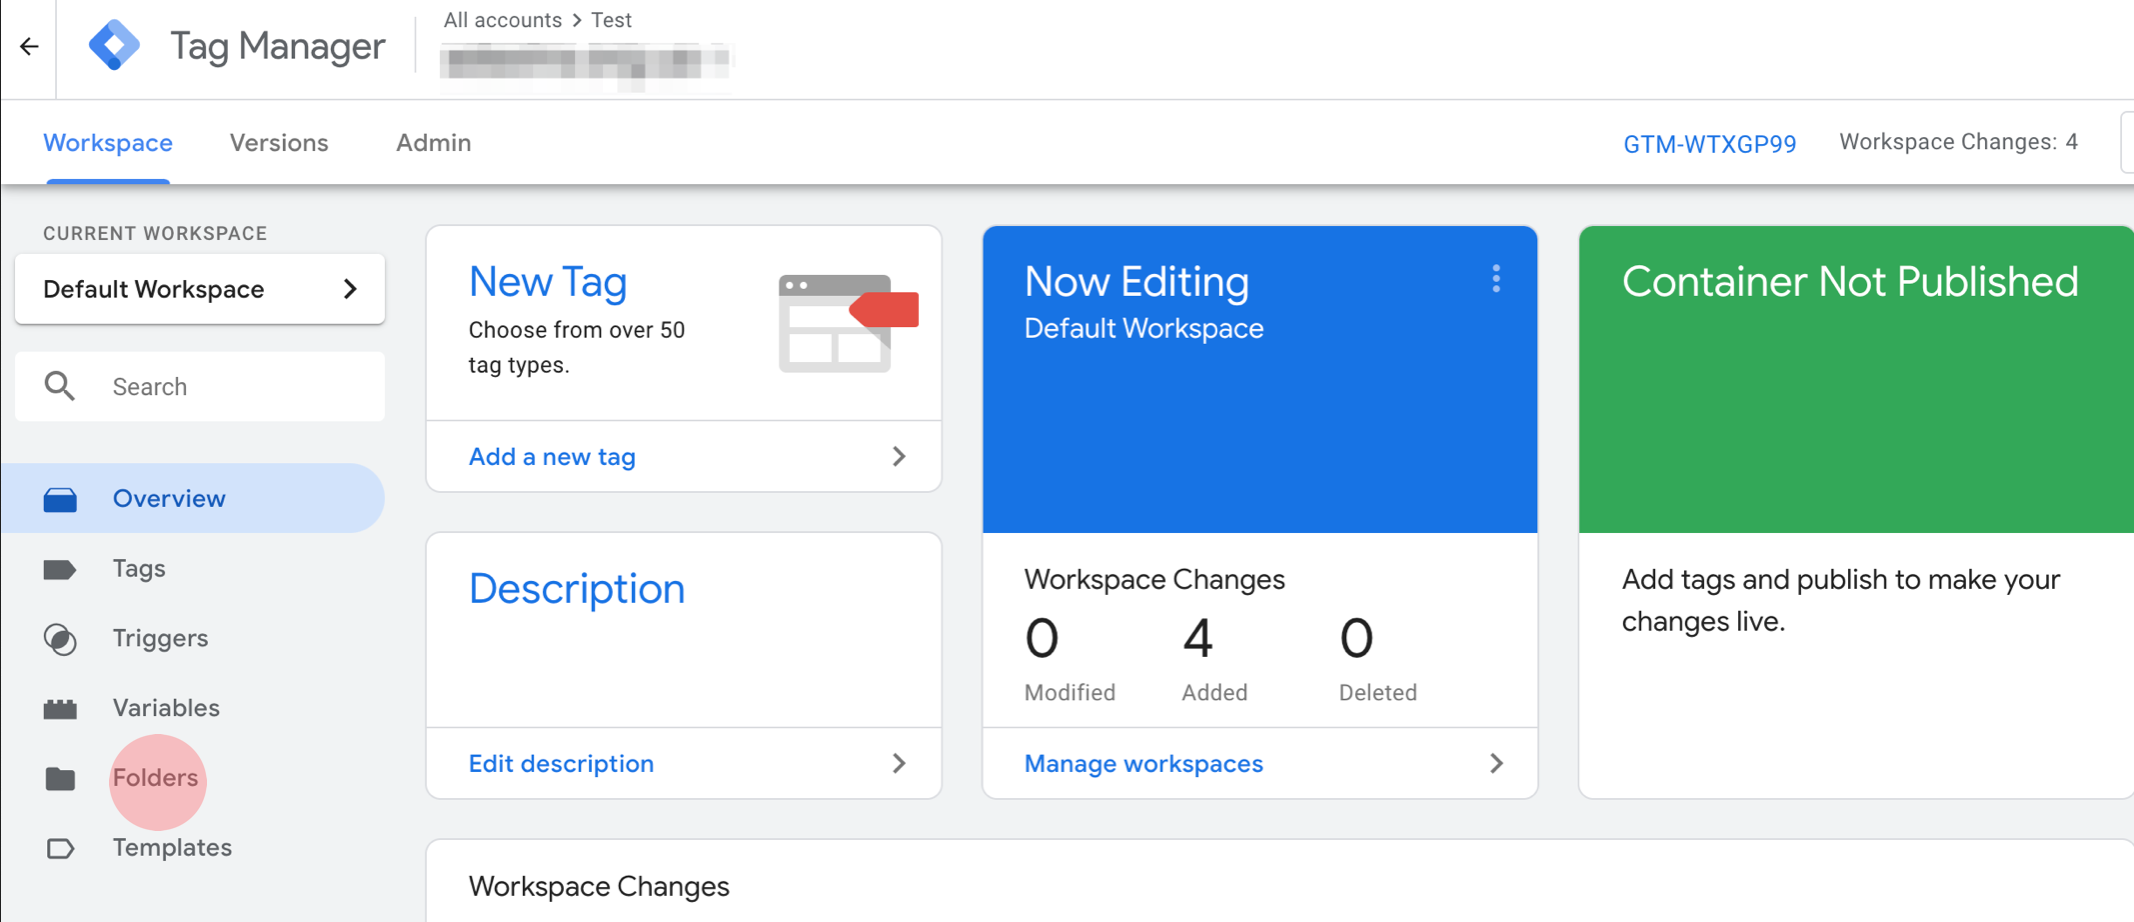
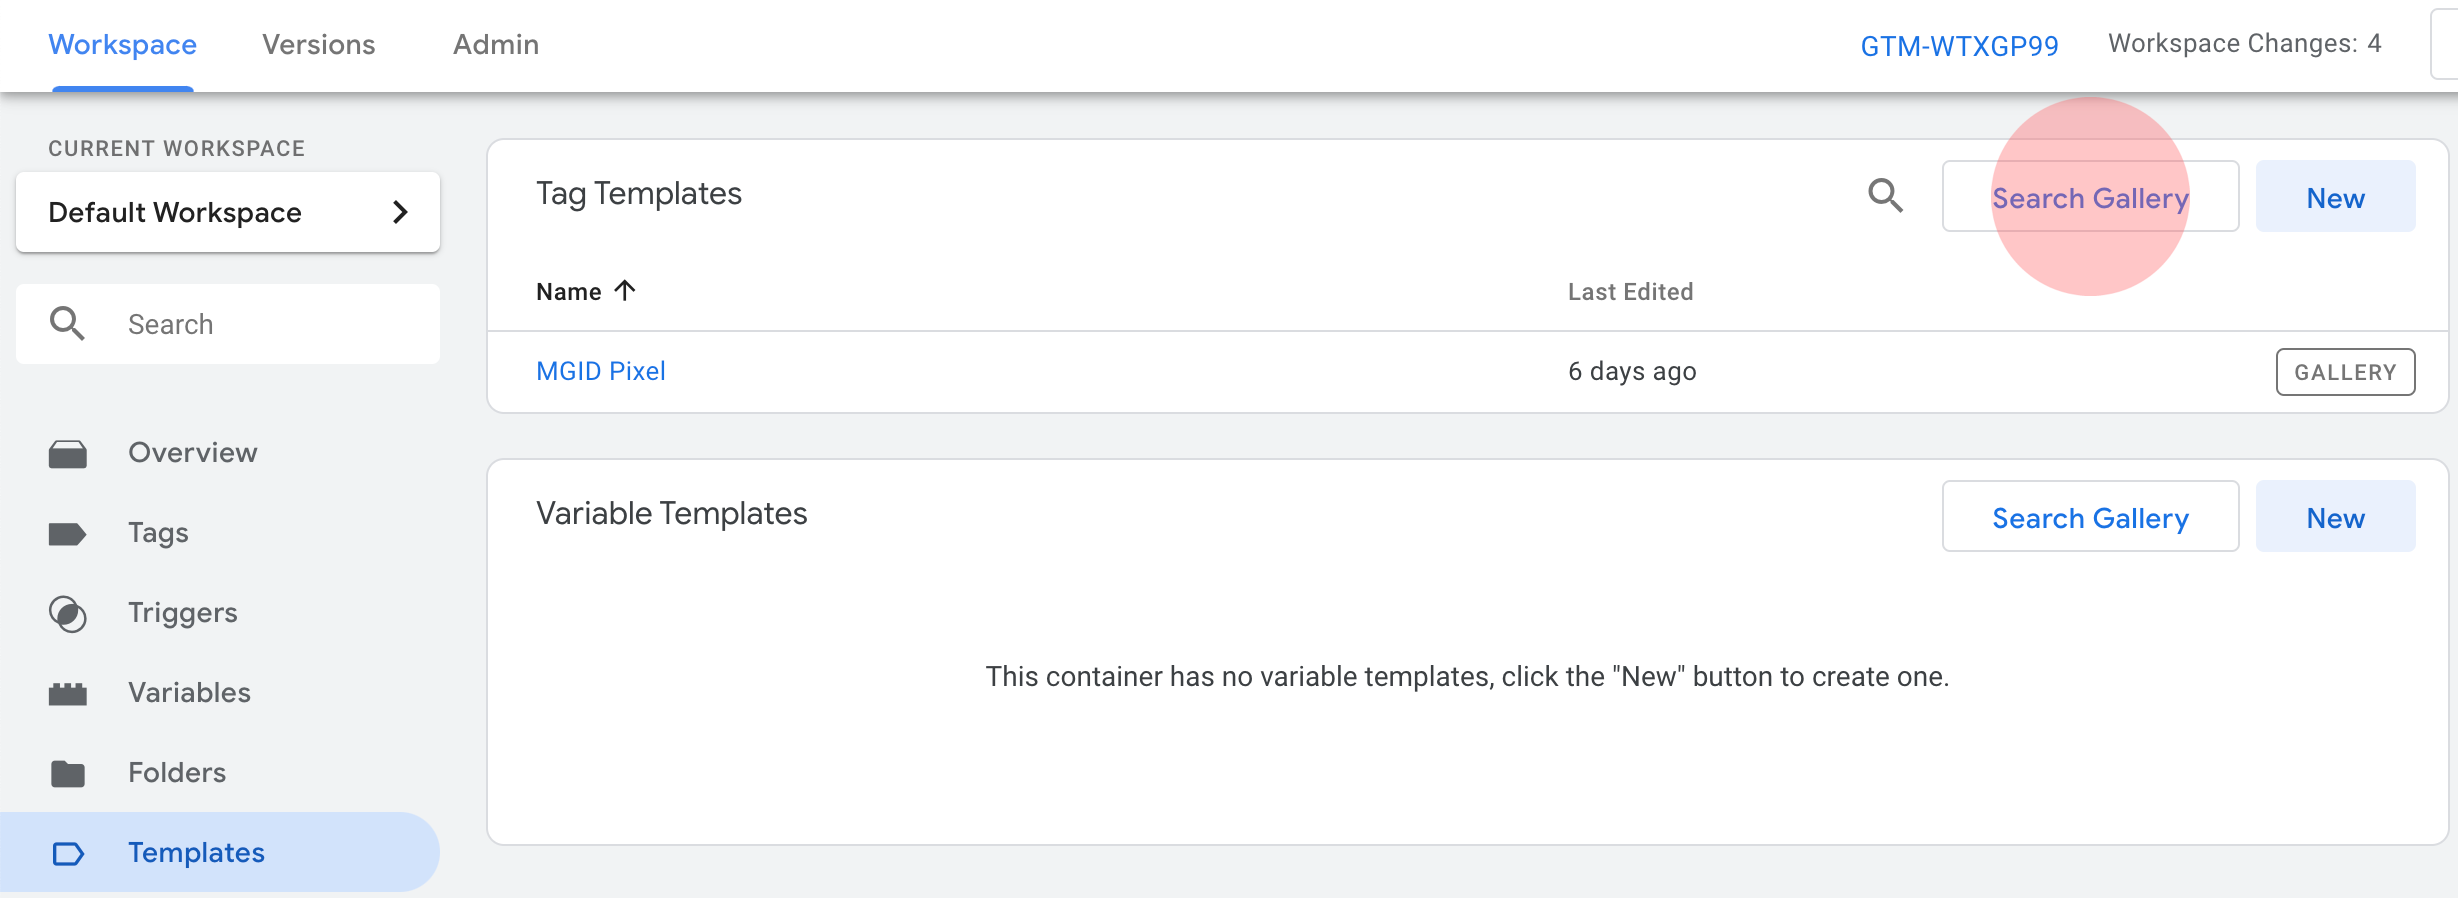
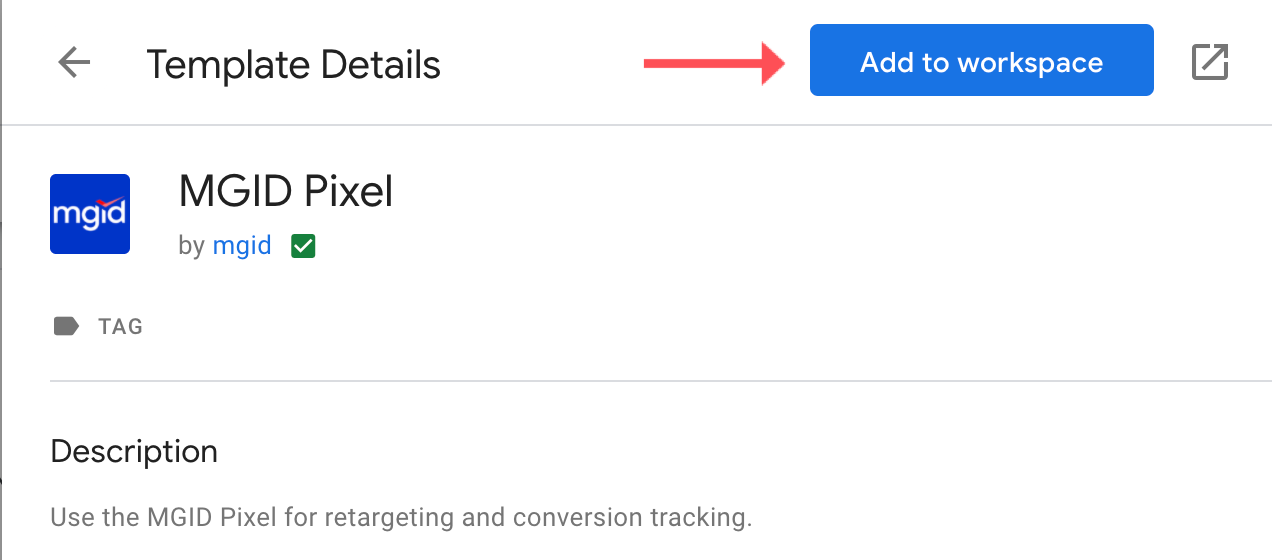
2. Open the Google Tag Manager, go to “Templates”-> “Search Gallery” and find the MGID Pixel tag. Add it to your workspace.
Click “Search Gallery”
Enter “MGID” in the search field
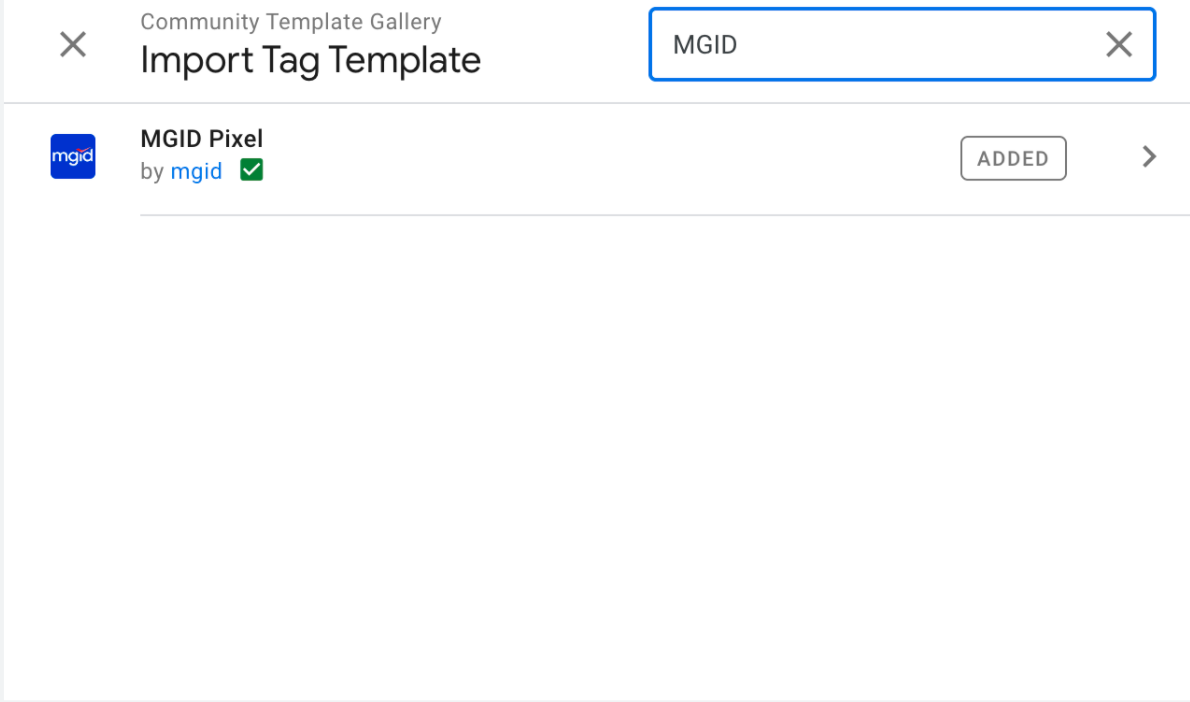
Add a ready-made template to the site workspace.
3. Create a new tag (“Tags” -> “New”) by choosing "MGID Pixel" among the tag types in the "Tag Configuration" section.

5. Select "All Pages in the "Triggering" section.
It's important to activate our sensor on all pages so that visitors may be directed from MGID. Otherwise the conversions will not be counted properly.


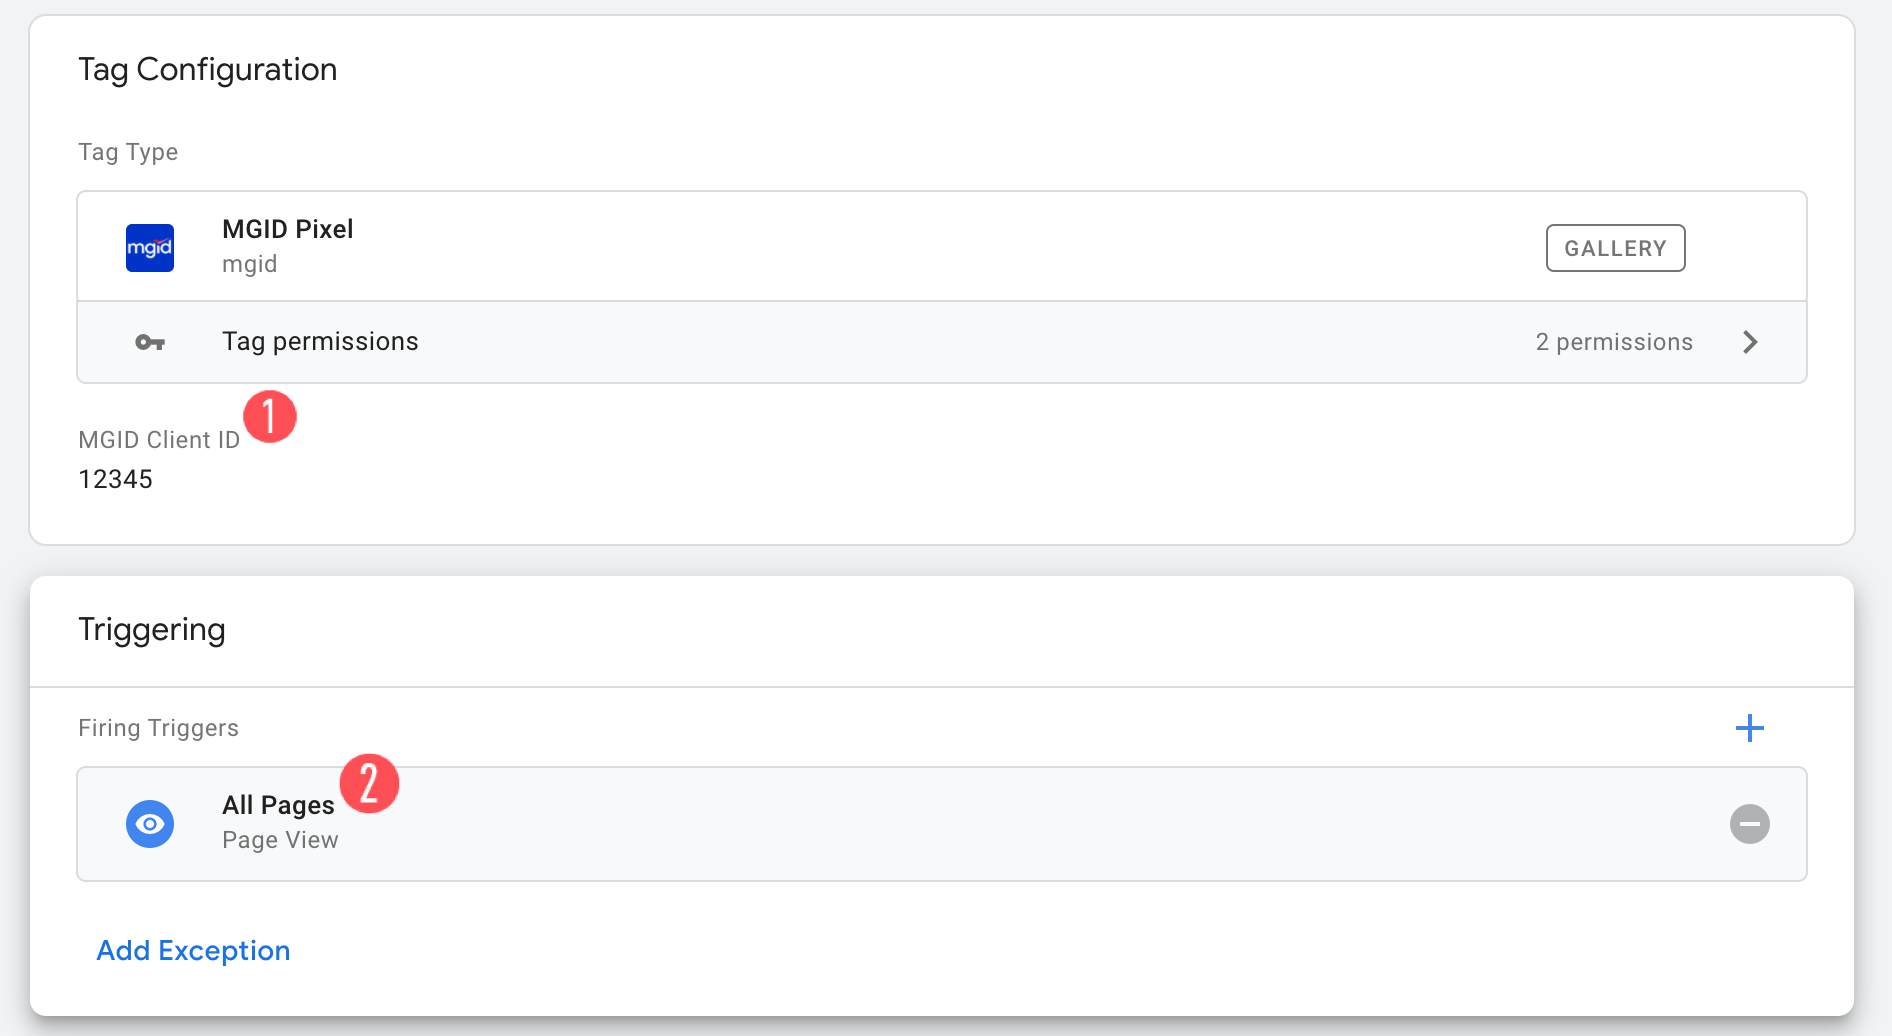
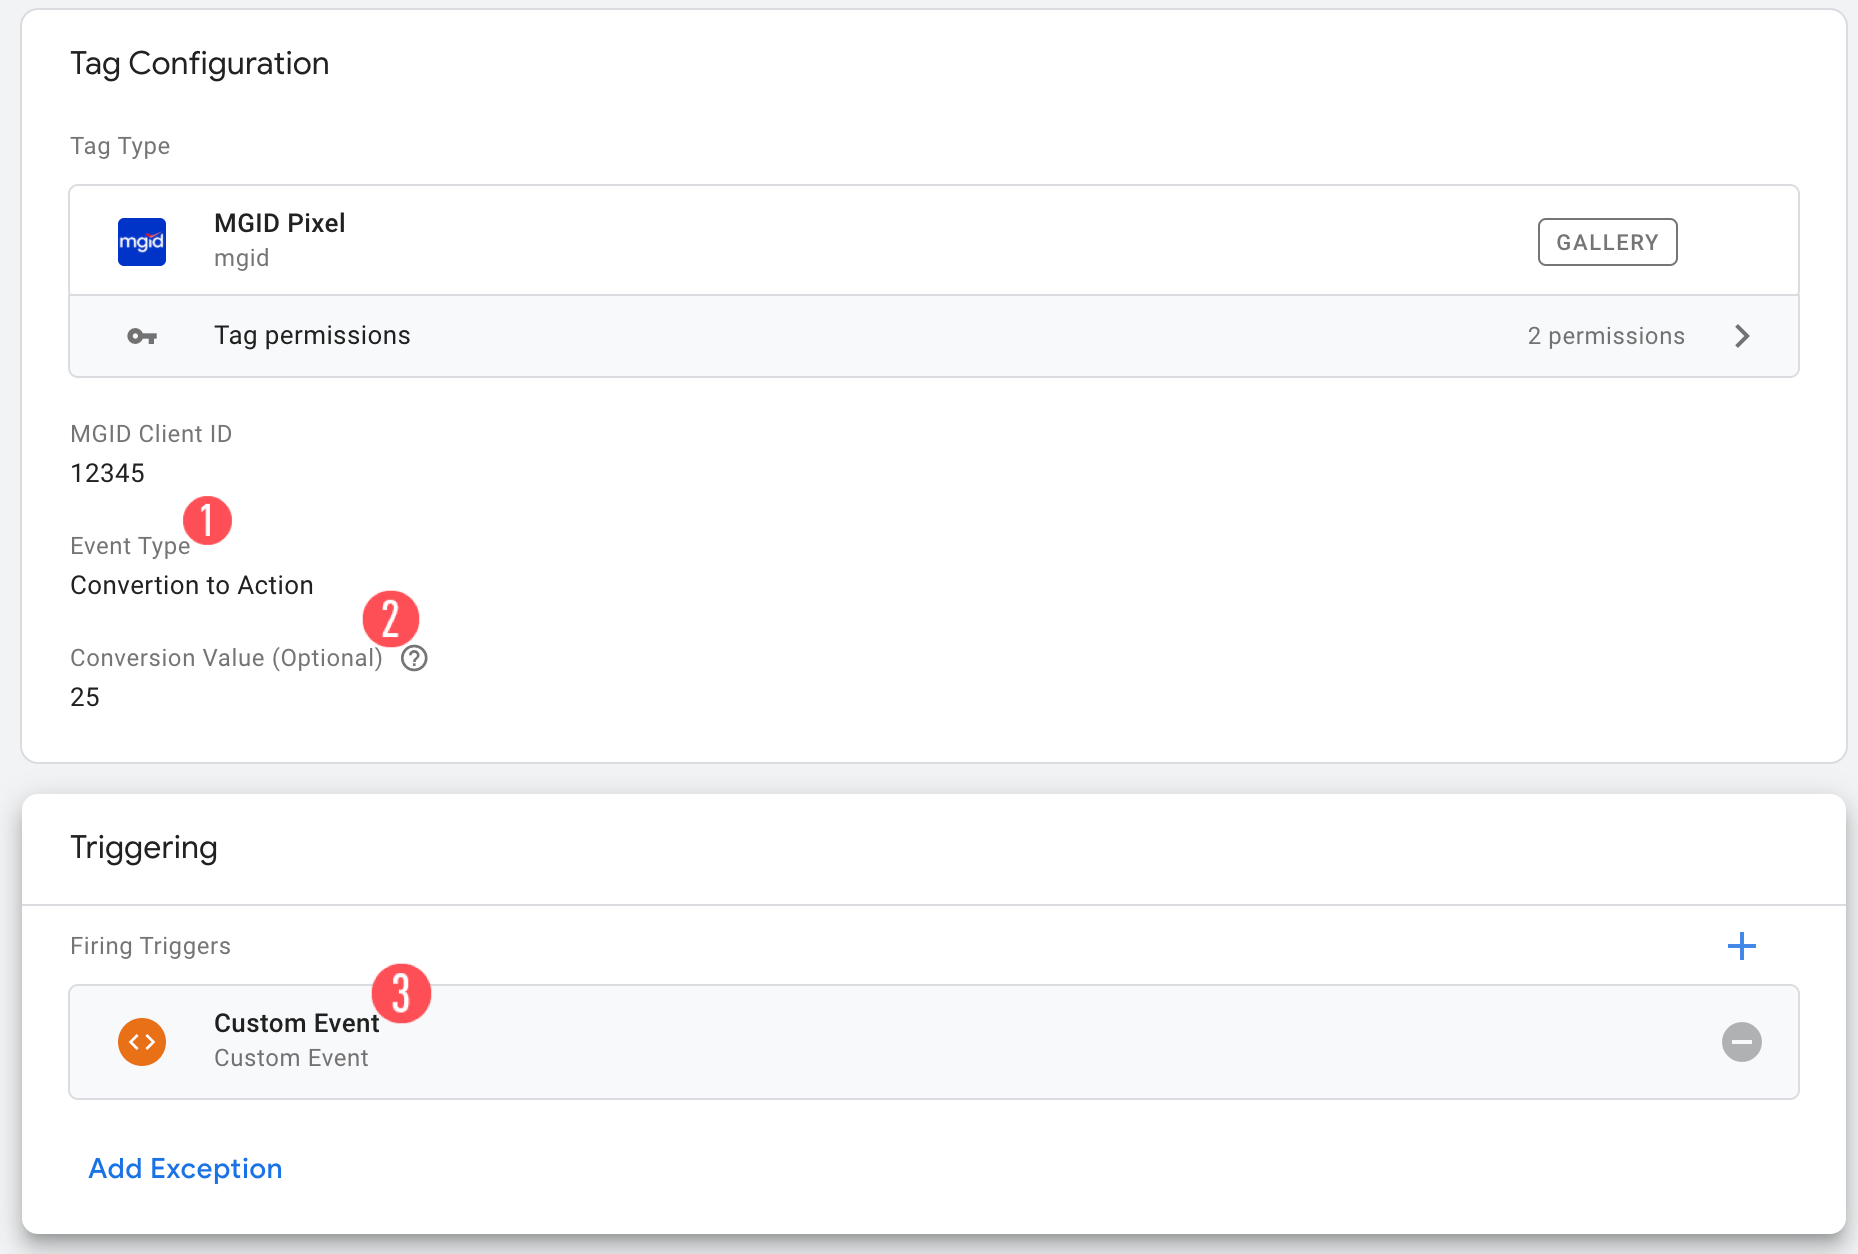
7. Enter your MGID Client ID in the "Tag Configuration" section and then choose event type "Conversion to Action".
8. Specify the conversion category (Lead, Sale, Install) and provide the conversion value (your conversion earnings may be specified as a variable).
9. Select the relevant trigger in the "Triggering" section.This trigger will indicate the previously specified conversion has occurred.
E.g: If your "Conversion to Action" is "New Order", then choose the trigger meaning that a new order has been created and successfully submitted ("New Order", "Thank You Page", etc.).
10. If you want to track more stages of the conversion funnel, you can repeat steps 3-9, you must select a different event type "Conversion to Desire" or "Conversion to Interest".
11. In order to make your tags active online you will need to click on "Submit" -> "Publish" at the top right-hand side of the screen.